


Okay, so I’ve been wanting a Wisconsin sweatshirt for a while. I just love that vintage, worn-in look, you know? And I finally decided to just go for it and make my own. Figured it would be a fun little project.
Finding the Right Sweatshirt
First things first, I needed a plain sweatshirt. I didn’t want anything fancy, just a basic, comfortable crewneck. I hit up a few local stores, but everything was either too expensive or not the right color. I was aiming for that classic heather gray.
Ended up finding one online. It was super cheap, like, surprisingly cheap, but the reviews were good, so I took a chance.
The Design Process
Next up was the design. I knew I wanted “Wisconsin” on it, obviously, but I wasn’t sure about the font or style. I spent a good hour just browsing through different fonts online. I wanted something that looked kinda old-school, but not too cheesy.
I finally settled on a simple, blocky font. It felt classic and collegiate, which is exactly what I was going for.
- I considered adding an image, maybe a badger or something, but it felt like too much.
- I wanted to keep it clean and simple.
Making it Happen
I don’t have any fancy equipment,I printed out the design onto some transfer paper. It was a little tricky getting it lined up perfectly on the sweatshirt, but I took my time and made sure it was centered.
Then came the scary part – ironing it on! I was so worried I’d mess it up, but I followed the instructions on the transfer paper carefully. I pressed down hard with the iron, making sure to get every part of the design.
The Final Result
After letting it cool, I peeled off the backing paper, and… it worked! It actually looked pretty good! The letters were a little stiff at first, but after washing it, the sweatshirt softened up and the design looked even better – that perfectly worn-in look I was going for.
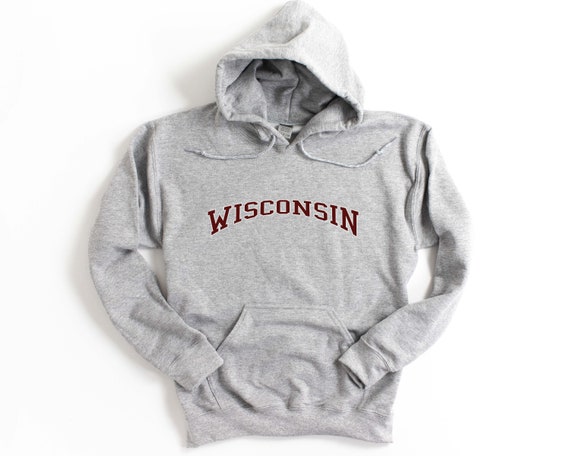
Honestly, I’m pretty proud of how it turned out. It’s not perfect, but it’s mine, and I made it. Plus, it’s way more unique than anything I could have bought in a store.


