


Alright, so my buddy Dave’s birthday was rolling around again. He’s absolutely nuts about cricket, like, lives and breathes it. I was scratching my head thinking what to get him. Another cricket book? A signed photo? Nah, wanted something a bit different, something I made myself, you know?
Then it hit me – a custom cricket ball. Not one you’d actually whack around, more like a display piece. A “birthday cricket ball”. Seemed like a plan.
Getting Started
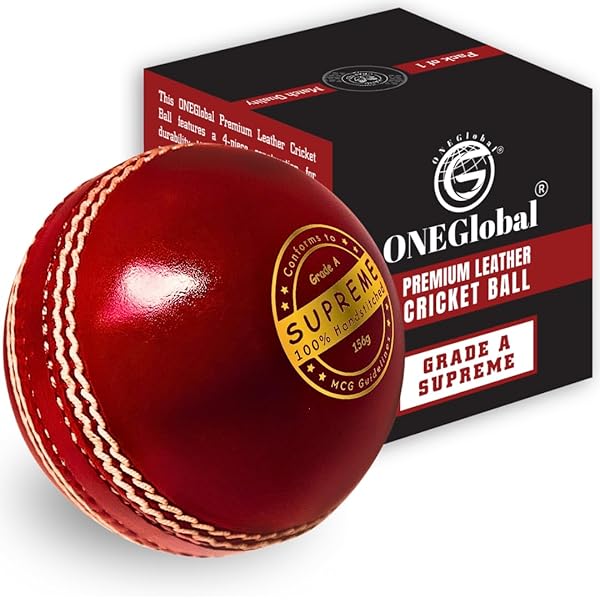
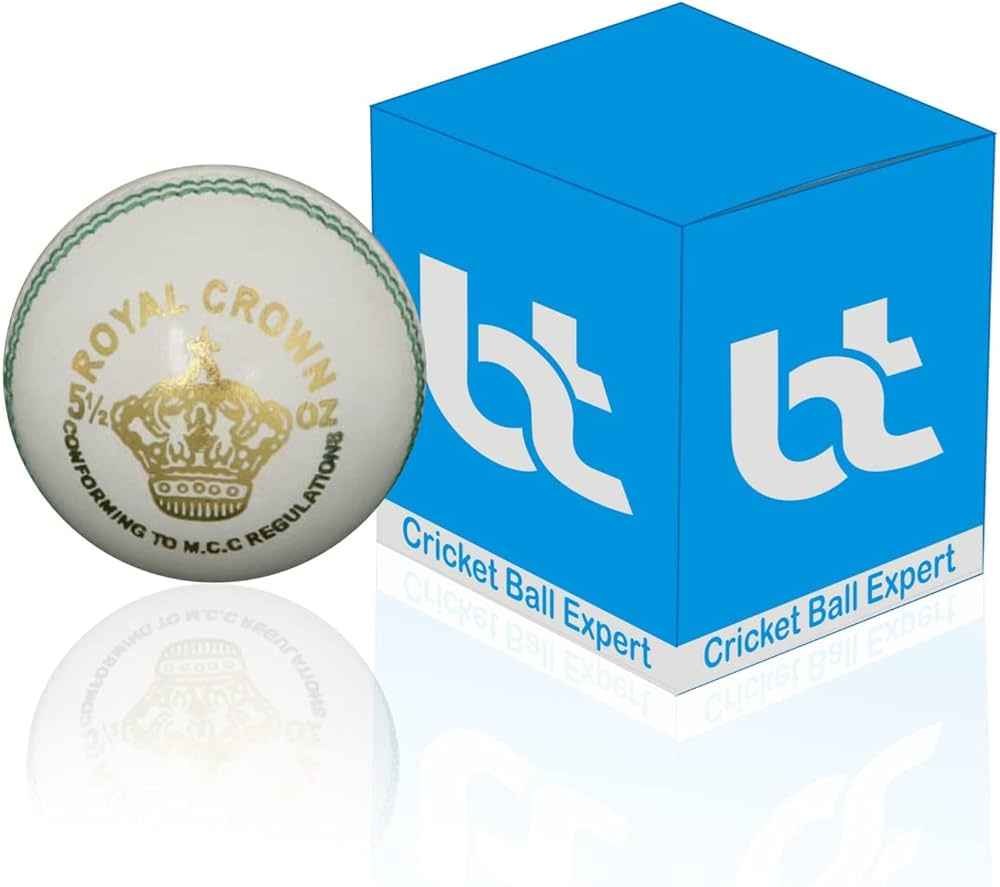
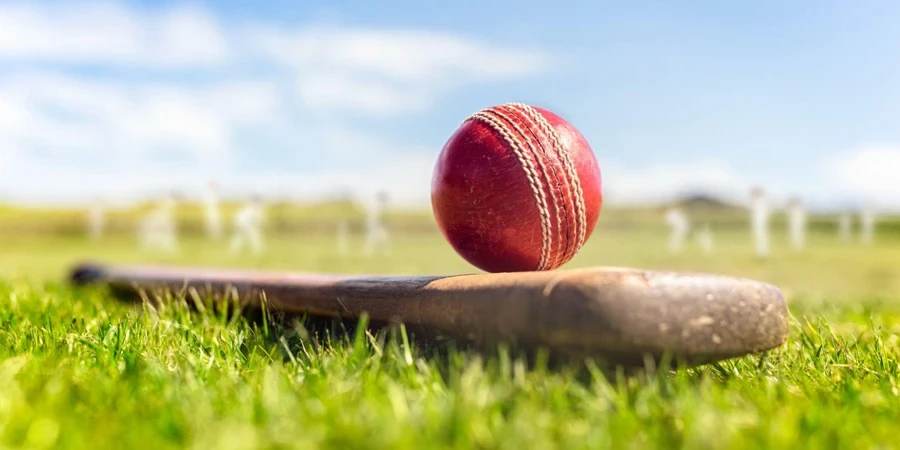
First things first, I needed a ball. Popped down to the local sports shop. Didn’t need the super expensive match-quality ones, just a decent leather ball that looked the part. Found one that felt nice and solid.
Next up, decoration stuff. I figured painting was the way to go. I’m no artist, mind you, but how hard could it be? Went to the craft store and grabbed:
- Some small pots of acrylic paint – white, gold, and the colours of his favourite team (let’s just say they’re blue and yellow).
- A couple of really fine paintbrushes. Painting on a curve looked like it might be fiddly.
- A can of clear sealant spray. Figured that would protect the paint job.
The Actual Making Part
Got home, laid out some old newspaper. Took the ball and gave it a gentle wipe down with a slightly damp cloth, just to get any dust off. Let it air dry completely.
Painting time. This was tougher than I thought. Holding the ball steady while trying to paint neat letters was a challenge. I decided to just go with “Happy Birthday Dave!” in white paint. Used the finest brush I had. My handwriting isn’t great on paper, let alone on a ball! Had to take it real slow. Made a few smudges, wiped them off quick before they set.
Let the white paint dry for a good few hours. Then I went back in with the gold paint. Just wanted to add a little something extra, so I carefully outlined the white letters with a thin gold line. Made it pop a bit more.
Next, the team colours. I thought about painting the whole seam, but decided against it. Might look messy. Instead, I added a few small, simple stripes of the blue and yellow near the seam on opposite sides. Just a nod to his team without overdoing it.
Finishing Touches
Left the whole thing alone overnight to make sure the paint was totally, completely dry. Didn’t want to mess it up at the last step.
The next day, I took it outside for the sealant. Shook the can well, like the instructions said. Held the ball and gave it a light, even spray all over. The trick is light coats. Did one coat, let it dry for about an hour, then did a second light coat. This stuff smells strong, definitely do it outdoors or in a well-ventilated area.
Let it dry for the rest of the day just to be safe.
The Result
And that was pretty much it! It wasn’t perfect, you could tell it was hand-painted, but it looked unique. It had character. Wrapped it up in some simple paper.
Gave it to Dave at his party. He seemed genuinely chuffed with it! Said it was brilliant and different. He put it up on his shelf in his study. So yeah, mission accomplished. A bit of effort, but worth it to make something personal for a mate.


