

Getting the Itch for Stickers
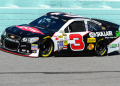
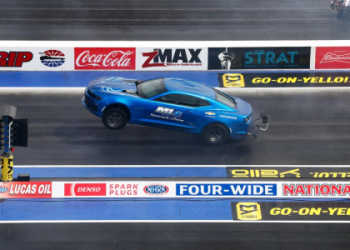
So, I’d been looking at my car and thinking it needed… something. You know? Seen a lot of cars, especially online, decked out with sponsor stickers, and it just looked kinda mean, kinda race-ready. Didn’t have actual sponsors myself, obviously, but I liked the look. Decided I’d give it a shot, just for fun.
Finding and Getting the Goods
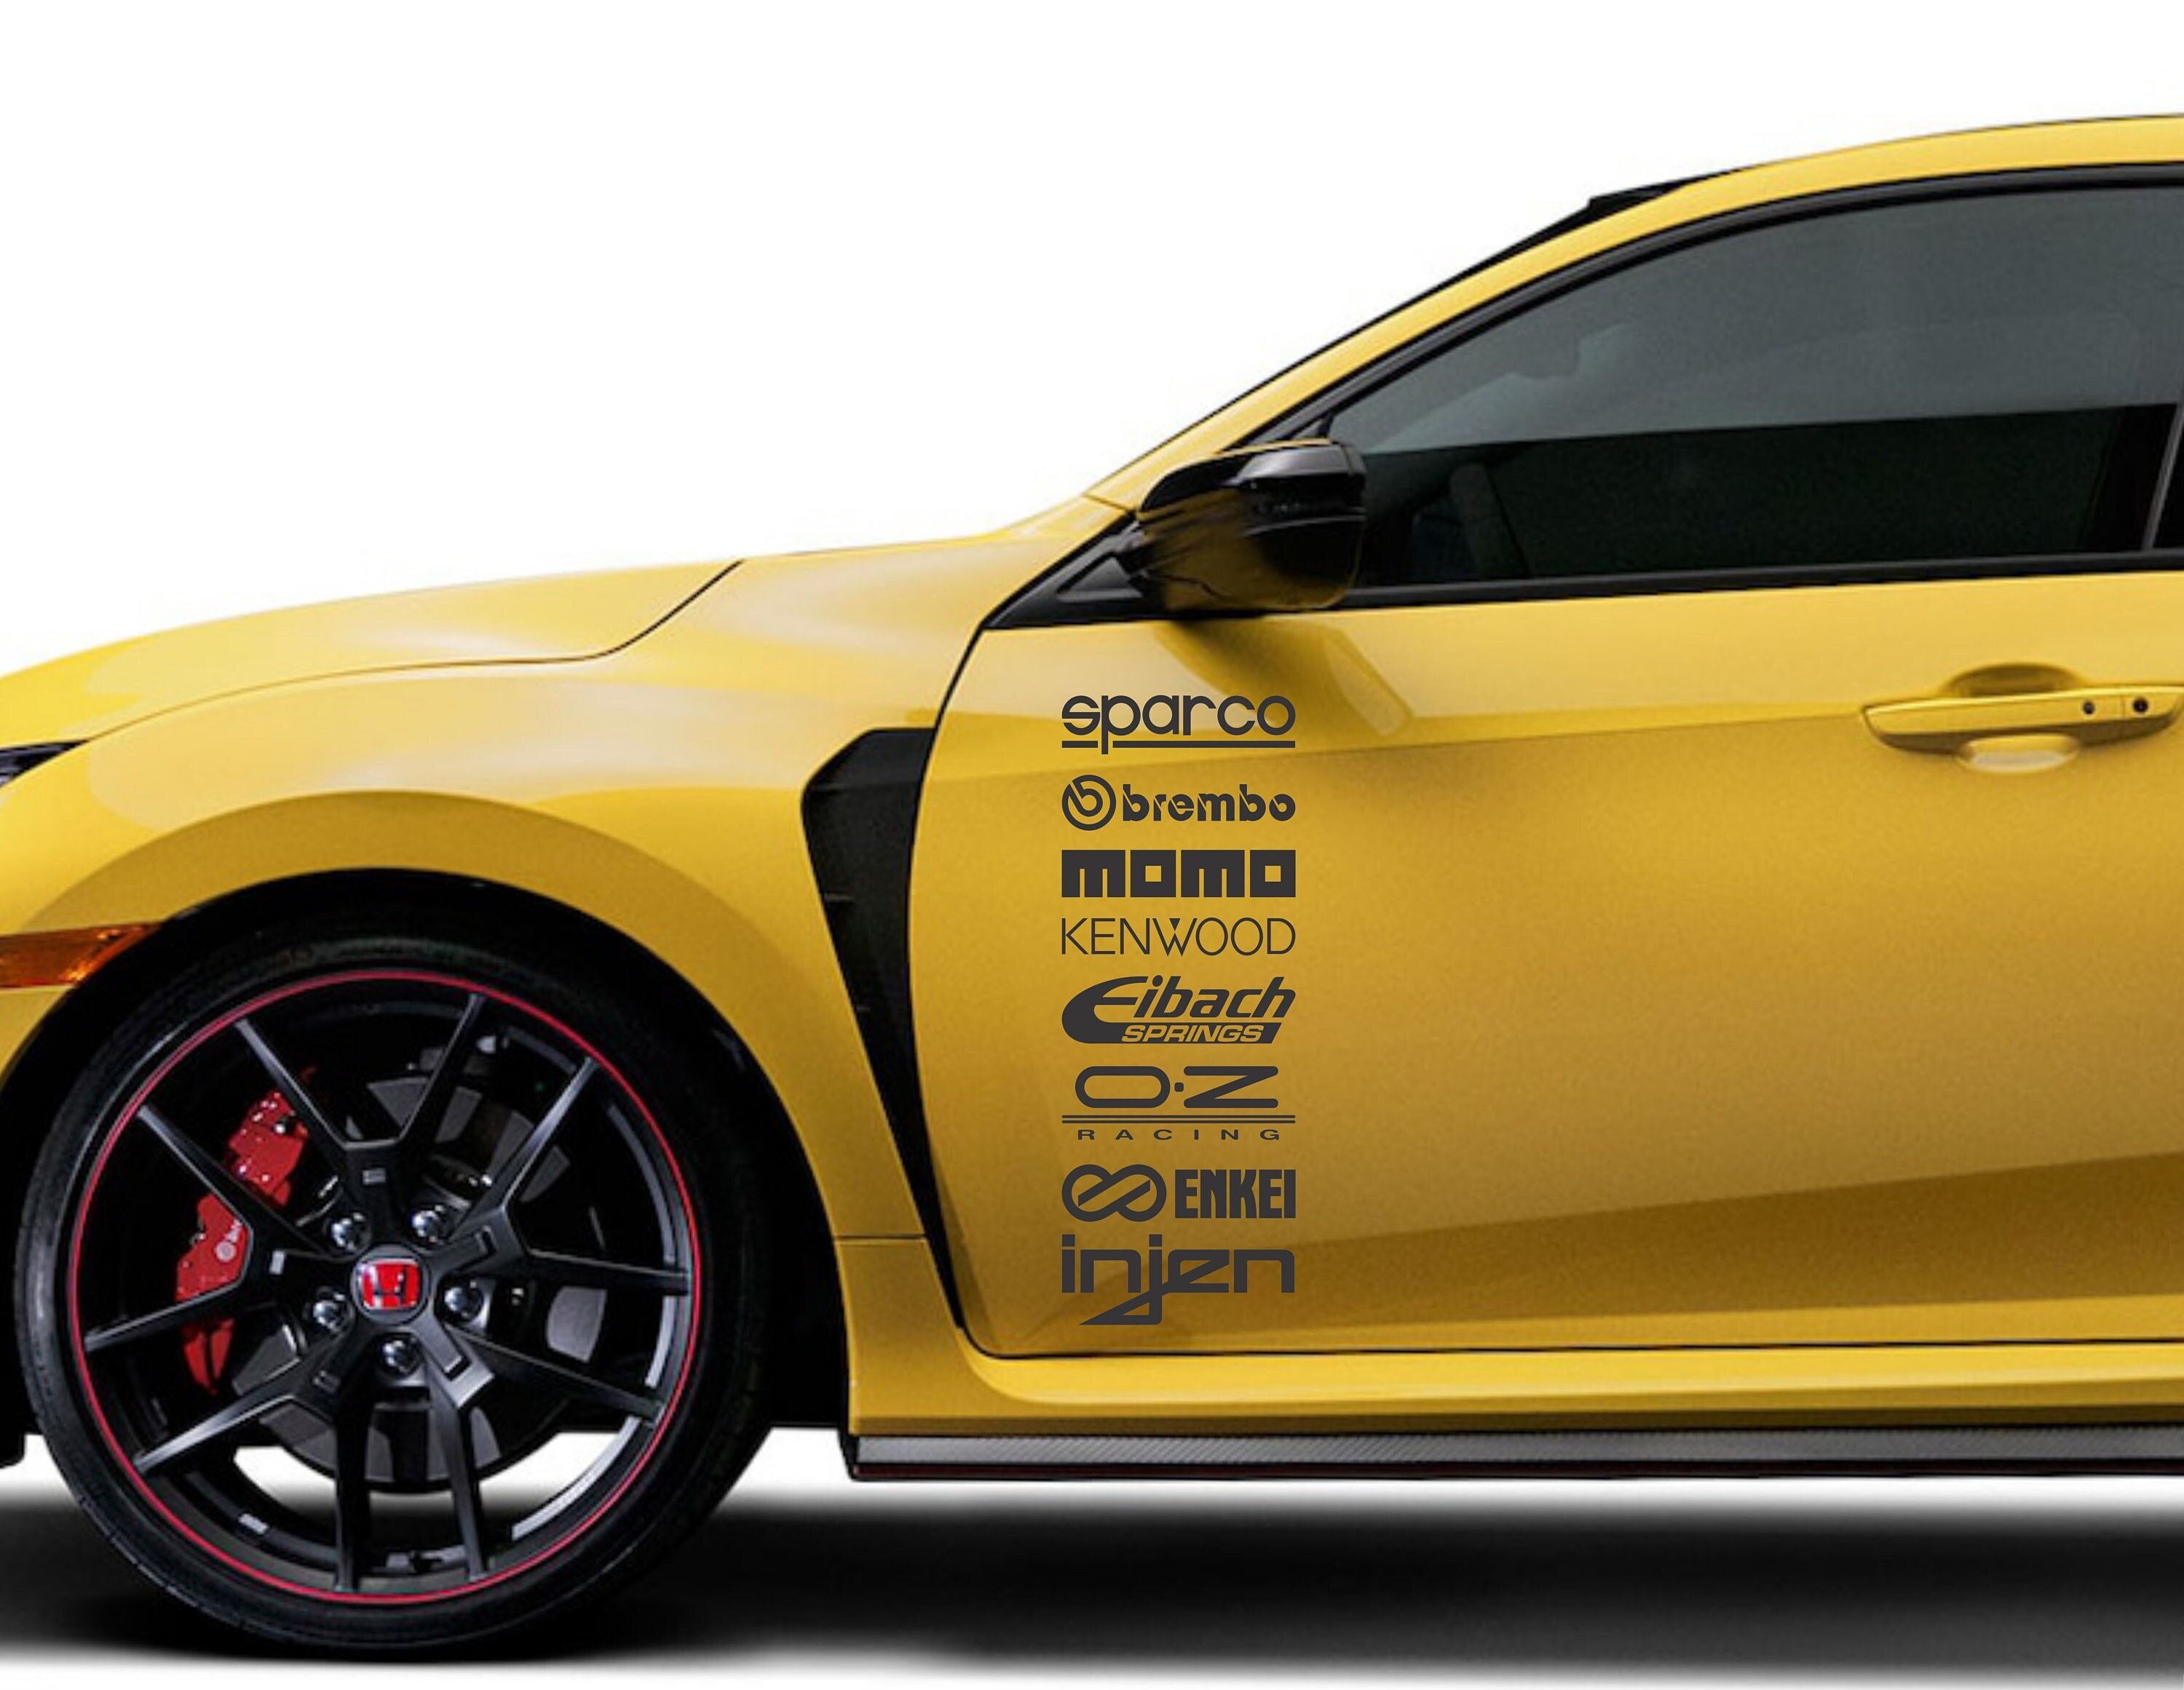
First step was finding the stickers. Spent a while clicking around online. Lots of places sell them. Some sell packs of famous brands, others let you make custom ones. I ended up picking out a few replica logos of brands I liked, stuff you see on actual race cars. Added them to my cart, paid up, and then just waited for the mailman. Felt like waiting for Christmas morning when I was a kid, haha.
Prep Work is Key
The package finally landed. Stickers looked pretty decent, good vinyl material. Right, time to actually put them on. Now, everyone says preparation is important, and they ain’t wrong.
- First, I gave the car a thorough wash. Like, really got into it.
- Then, dried it completely. Can’t have water messing things up.
- Finally, I took some isopropyl alcohol on a clean rag and wiped down every single spot where a sticker was gonna go. This gets rid of any wax or grease. You want that surface perfectly clean for the sticker to stick properly.
Took a bit of time, but figured it was better to do it right the first time.
The Main Event: Sticking ‘Em On
This was the part I was nervous about. Didn’t want crooked stickers or bubbles everywhere. I grabbed some painter’s tape and started mapping things out on the car panels. Held the stickers up, moved them around, trying to visualize the final look. Used the tape to make little guide lines so I knew where the top edge or center should be.
Okay, deep breath. Picked the first sticker. Carefully peeled off the backing paper. Lined it up with my tape marks. Then, starting from the middle, I used a little plastic squeegee thing I got with the stickers to smooth it onto the paint. Worked my way out to the edges, pushing out any air. You gotta apply decent pressure.
Had a couple of small issues. One sticker went on a tiny bit wonky. Managed to peel it back off very, very slowly and reposition it. Phew. Another one, a bigger logo, ended up with a stubborn little air bubble right in the center. Couldn’t squeegee it out. Ended up taking a super fine needle, poking a tiny hole in the bubble, and then smoothing it down flat. Worked pretty well, actually.
It definitely took patience. Did one sticker at a time, step by step. Don’t rush it.
End Result? Pretty Happy
Finished the last one, peeled off all the masking tape guides, and stepped back. Honestly? Pretty chuffed with myself. It wasn’t factory perfect, maybe a tiny flaw here or there if you stick your nose right up to it. But overall, it gave the car that exact look I was hoping for. More aggressive, a bit more personality. Yeah, a good afternoon’s work. Definitely makes washing the car more interesting now, gotta be careful around the edges, but worth it.


