


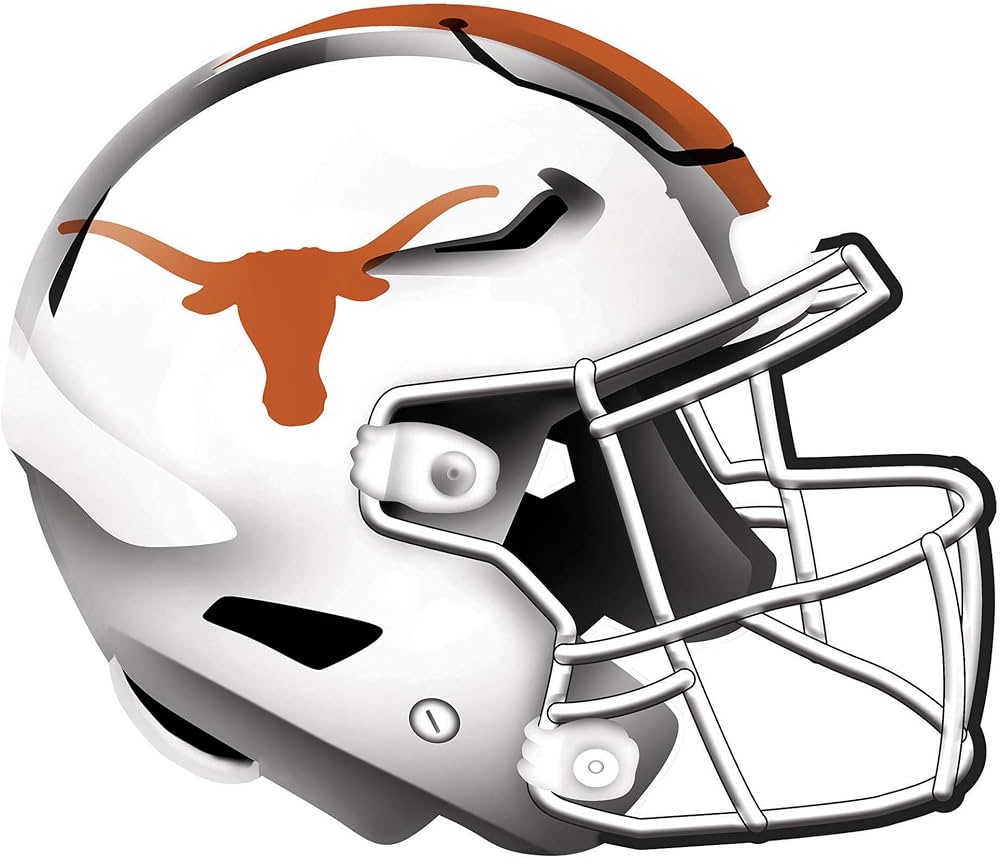
Alright, so I’m gonna walk you through how I tackled painting a Texas Longhorns football helmet. It was a fun project, definitely had its moments, but I think the final result is pretty darn cool. Here’s the breakdown:
Getting Started: The Prep Work
First things first, I grabbed a plain white helmet. Nothing fancy, just a basic one I picked up online. Then, the real fun began: prepping the surface. This is super important, don’t skip this step! I started by giving the whole helmet a good scrub with some dish soap and water to get rid of any grease or grime. Let it dry completely, obviously.
Next, I used some fine-grit sandpaper (like, 400 grit) to lightly sand the entire helmet. This gives the primer something to grip onto. You don’t need to go crazy, just scuff it up a bit. After sanding, I wiped it down again with a tack cloth to remove any dust.
Laying Down the Base Coat
Now for the paint! I went with a good quality automotive primer. Sprayed a couple of thin, even coats, letting each coat dry completely before applying the next. This is key to preventing runs and ensuring a smooth finish. I let the primer cure for a full 24 hours. Patience is a virtue, my friends!
After the primer was cured, I sanded it lightly again with some super fine sandpaper (like 600 grit) to smooth out any imperfections. Then, I wiped it down again with a tack cloth.
Hook ‘Em Horns Orange!
Okay, now for the iconic color. I used a spray paint that was a pretty close match to Texas Longhorns orange. Again, thin, even coats are your best friend here. I probably did about three coats to get good, solid coverage. Make sure each coat is completely dry before you go for the next. I let the orange paint dry for a good 48 hours. I was extra careful with this process.
The Longhorn Logo
This was the trickiest part. I wasn’t about to try and freehand the Longhorn logo! So, I found a good quality vector image online and had it printed as a vinyl stencil. There are lots of places that can do this for you. I carefully applied the stencil to the helmet, making sure it was perfectly centered and smooth. Make sure you press it down really well, especially around the edges, to prevent any paint bleed.
Then, I used a white spray paint for the Longhorn logo. I sprayed several light coats, building up the color gradually. After the white paint was dry to the touch, I carefully peeled off the vinyl stencil. This is where you hold your breath! Luckily, it came off cleanly, leaving a crisp Longhorn logo.

Clear Coat Protection
To protect the paint job and give it a nice glossy finish, I applied several coats of clear coat. Again, thin and even coats are the way to go. I let the clear coat dry for a few days to fully cure. This will make the helmet durable and scratch-resistant. After the clear coat cured, I buffed it out with a polishing compound to give it an extra shine.
Finishing Touches
- I reattached the facemask.
- Added the chin strap.
And there you have it! A custom-painted Texas Longhorns football helmet. It took some time and effort, but I’m really happy with how it turned out. Hook ’em!


