


Okay, so I saw this “Sean O’Malley” t-shirt thing trending, and I thought, “Why not? Let’s try making one myself.” I’m no artist, but I figured it couldn’t be that hard, right?
Finding a Design
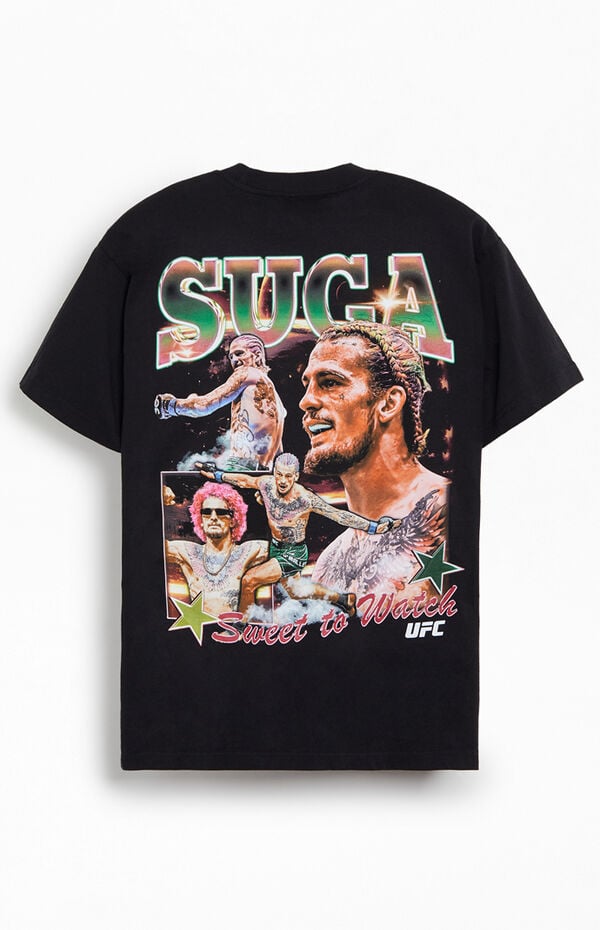
First things first, I needed a design. I’m not creative, but I searched what his name was, and I found a bunch of pictures of him, and I pick one I found great.
Prepping the Shirt
Next up, I prepare a plain white t-shirt. Gave it a quick wash and dry, just to make sure it was all clean and ready to go. I laid it out flat on a table, making sure there weren’t any wrinkles or anything that could mess up the print.
Actually Making the Thing
This is where it could have all gone wrong.
I Carefully follow the instructions on the printed design, double-checking everything.
I lined up the design on the shirt, making sure it was centered and straight. Then, I set the iron to the right temperature (again, reading those instructions!) and slowly, carefully, ironed the design onto the shirt. I made sure to press down firmly and evenly, going over each part of the design a few times. It felt like it took forever, but I wanted to make sure it was done right.
The Big Reveal
After what felt like an eternity, I peeled off the backing paper… and it actually looked pretty good! I mean, it’s not perfect, the lines are probably not as sharp as a professional print, but hey, I made it myself!

Final Touches (and Wearing It!)
I let the shirt cool down completely, then gave it another quick iron (this time with a cloth over the design, just to be safe). And that was it! My very own, slightly wonky, Sean O’Malley t-shirt.
I wore it and took some photos. I am really happy with the outcome!


