


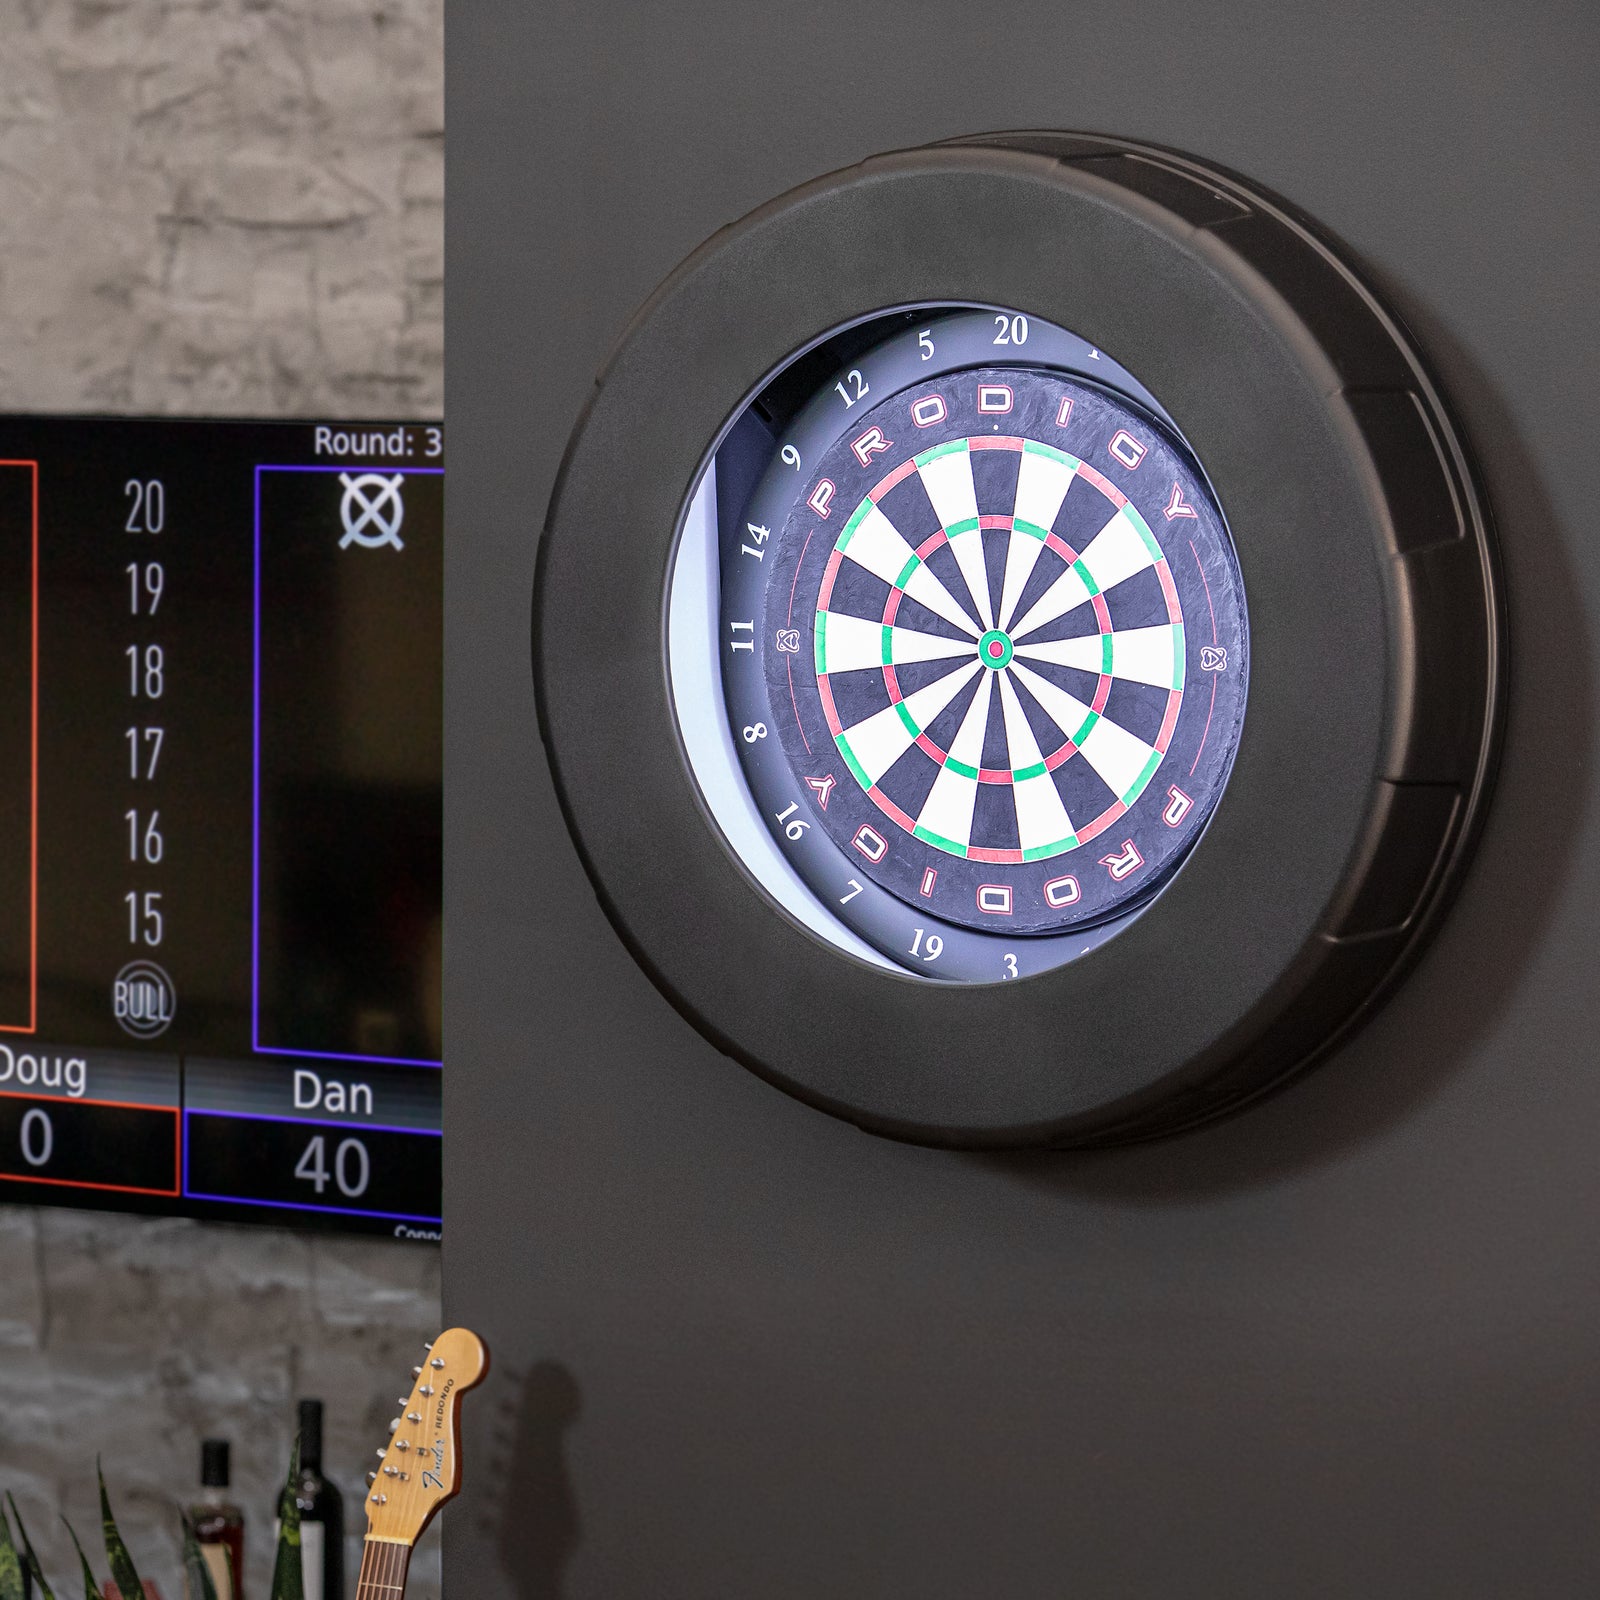
Okay, so I’ve been wanting to build a smart dartboard for a while now. I saw some cool ones online, but they were either super expensive or looked kinda janky. I figured, “Hey, I can probably make one myself!” So, that’s what I did. This is how I built my “Prodigy Dartboard”.
Getting Started
First thing I did was grab a regular, old-school bristle dartboard. Nothing fancy, just a standard one from the store. I didn’t want to mess up a really nice one while I was experimenting.
Taking it Apart
Next, I carefully took the metal ring and number ring off the dartboard. This was a little tricky, but I just went slow and used a small screwdriver to pry things apart. The key was not to bend anything too much.
Sensing the Darts
This is where things got interesting. I wanted the dartboard to know where the darts landed, right? So, I used these things called “piezo sensors”. They’re basically little discs that sense vibration. I got a whole bunch of them online for pretty cheap.
I glued these piezo sensors all over the back of the dartboard, making sure to cover each scoring segment. I used a hot glue gun, nothing complicated. It looked like a crazy spiderweb of wires back there, but it worked!
The Brains of the Operation
To make sense of all those sensors, I used an Arduino Uno. It’s a little computer board that’s perfect for this kind of project. I connected all the piezo sensor wires to the Arduino.
Coding it Up
I used a basic Dart and Flutter setup to handle the code.
- Setup the server and client sides.
- Defined methods to start server and start listening.
- Created methos to handler the socket and send messages.
- I tested the connection.
- Lastly, I was able to start listening for the response and print the incoming data.
Putting it Back Together
Once I had the wiring and code sorted, I carefully put the metal ring and number ring back on the dartboard. I made sure to route the wires so they wouldn’t get pinched or damaged.

Testing and Tweaking
This part took the longest. I had to throw a LOT of darts and adjust the code to make sure the sensors were reading correctly. Sometimes a dart would hit a border and register in the wrong section, so I had to tweak the sensitivity. It was a lot of trial and error, but finally, it started working pretty reliably!
Making it Look Nice (Optional)
Right now, it’s still a bit rough-looking. I might build a nice wooden cabinet for it later, and maybe add some LED lights. But for now, I’m just happy it works!
It was a fun project, and I learned a ton. If you’re thinking about building one yourself, I say go for it! Just be prepared for some tinkering and debugging. It’s totally worth it in the end.


