


Okay, so I saw this idea online for a DIY Ed Sheeran shirt and I was like, “I gotta try that!” I’m a huge fan, and honestly, who doesn’t love a good custom tee?
Getting Started
First things first, I needed a plain shirt. I rummaged through my closet and found this old, plain white one that I never wear. Perfect! It was a little wrinkled, but nothing an iron couldn’t fix. I ironed the shirt to get a nice, smooth surface to work on.
Gathering Supplies
Next, I needed to gather my supplies. I already had some fabric markers from a previous project, but you could totally use fabric paint too. Here’s what I used:
- Plain white t-shirt (or whatever color you want!)
- Fabric markers (various colors)
- Cardboard (to put inside the shirt)
- Pencil
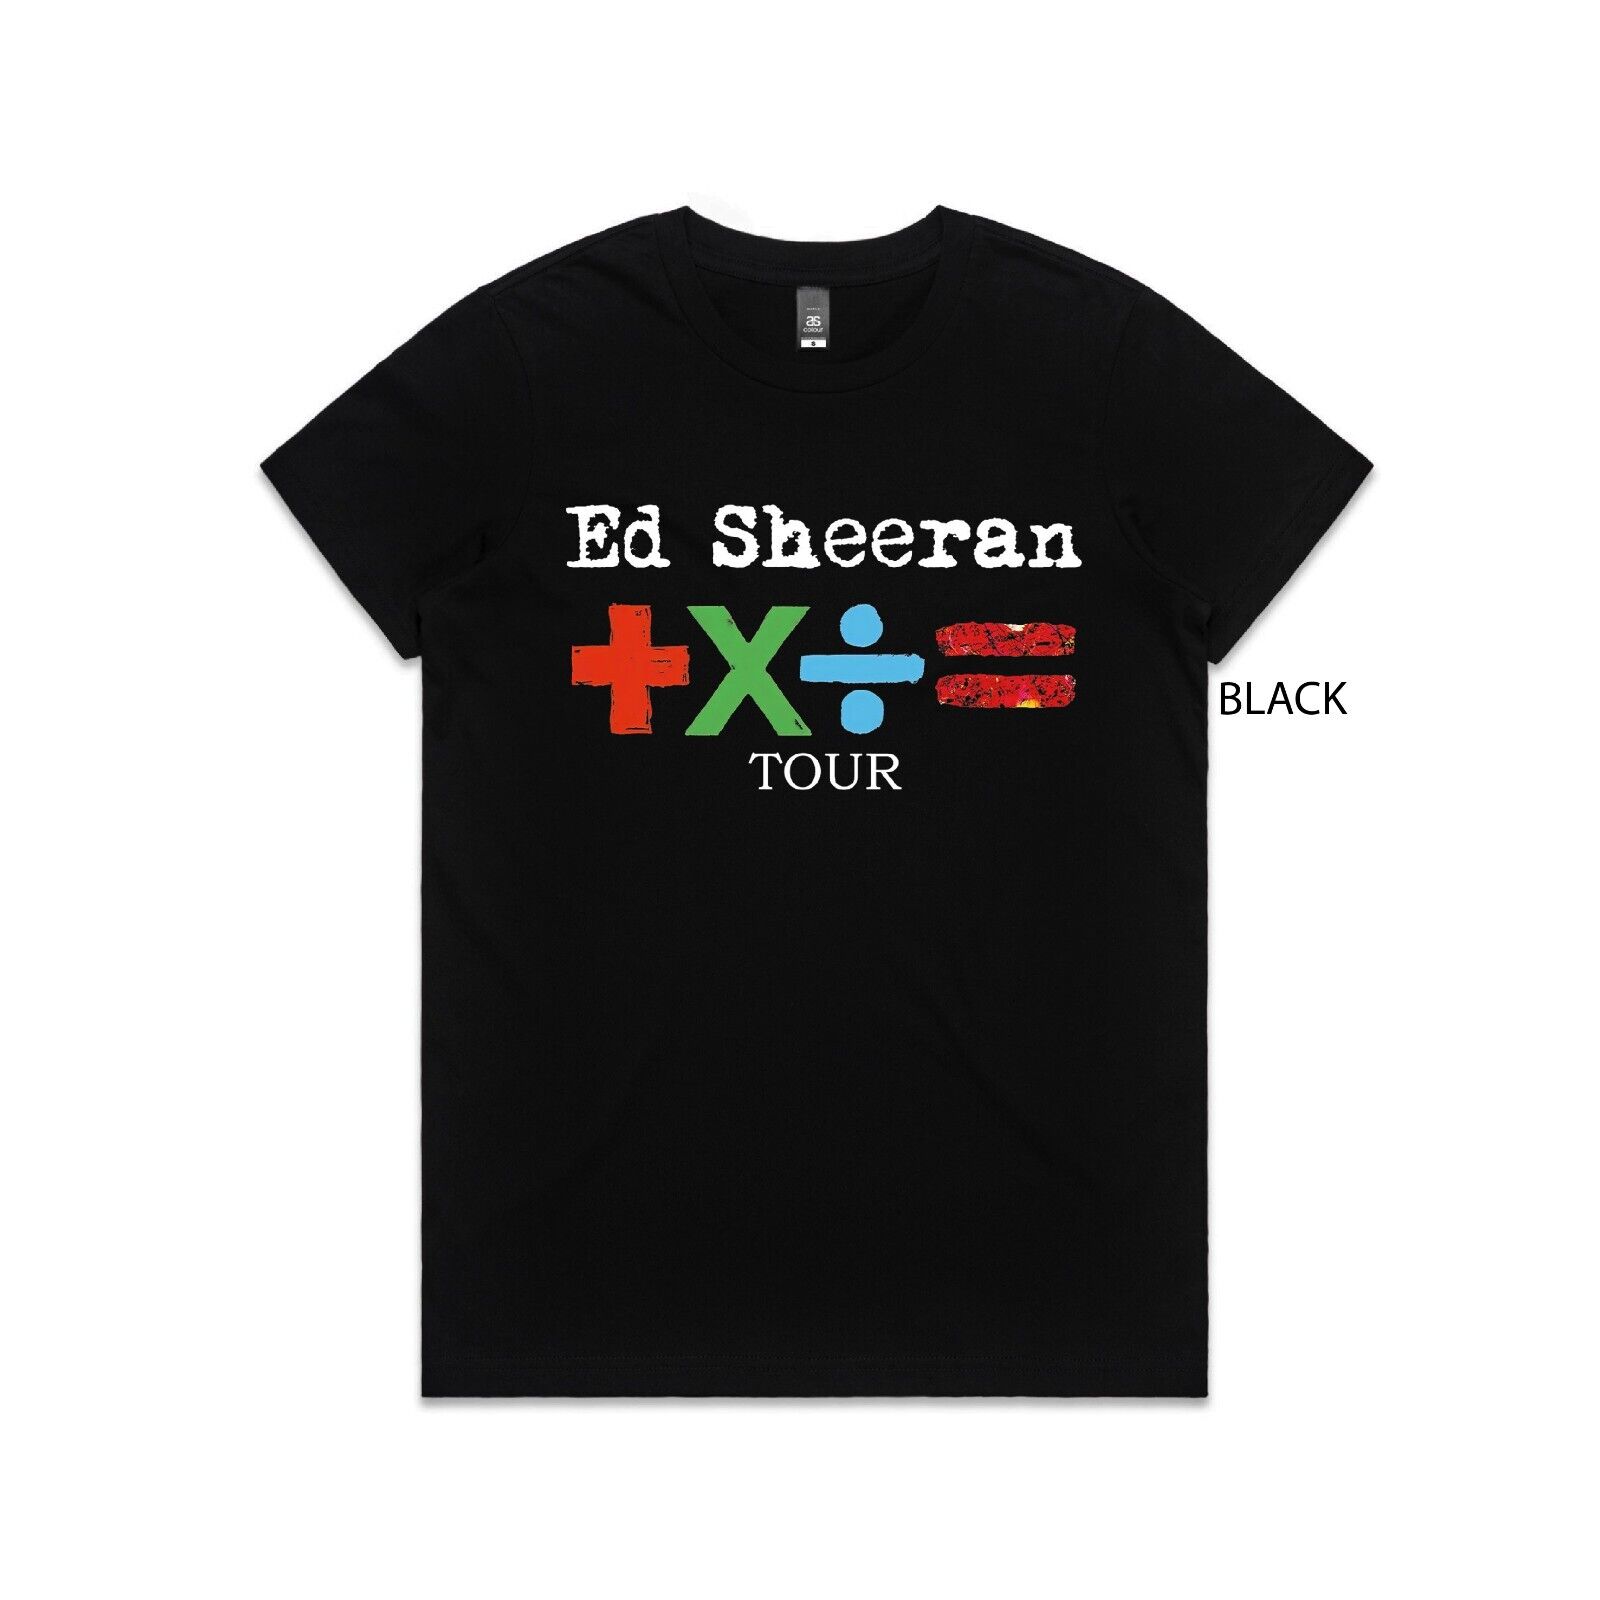
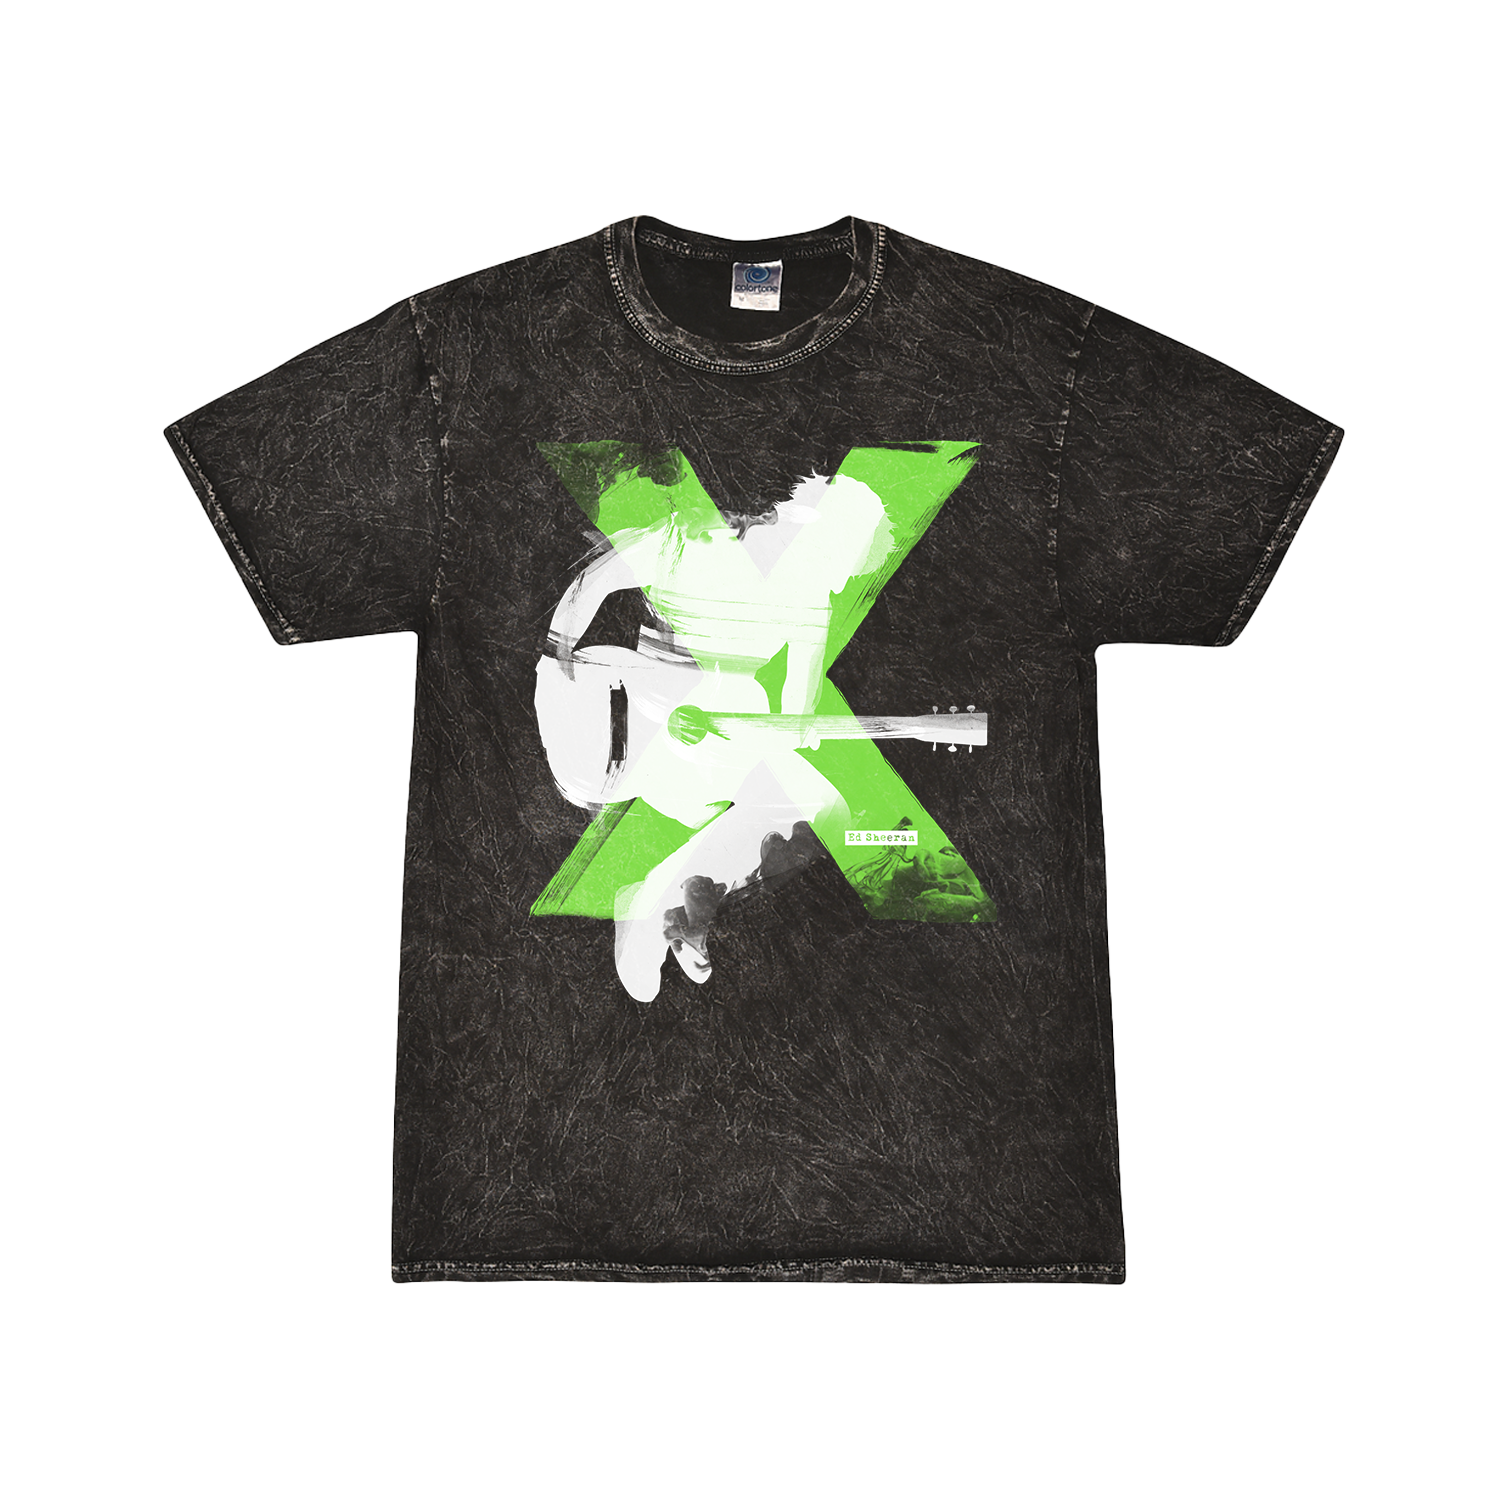
- A printout of an Ed Sheeran design (I just Googled one I liked)
The Design Process
I slipped the cardboard inside the shirt. This is super important because it prevents the markers from bleeding through to the back. Trust me, you don’t want that mess.
Then, I placed my printed Ed Sheeran design on top of the shirt where I wanted it. I lightly traced the design onto the shirt with a pencil. Just a faint outline, nothing too dark.
Once, I am satisfied with the placement and with my light tracing. I took the bold step of using a black fabric marker to solidify the lines. I want to say, I did not rush this process. Steady hands.
Adding Color (and a Little Sparkle!)
Now for the fun part! I started coloring in the design with my fabric markers. I went with classic Ed Sheeran colors – oranges, reds, and a bit of black. I wanted something a little different. I only colored his hair and guitar.
The Final Touches
After the colors dried, I let it dry for a few hours, that will make the color more vibrant and to make sure nothing smudged.
My masterpiece was finally done! I can now wear it.


