


Okay, so I saw this thing online about nude calendars, and I thought, “Why not give it a shot?” I mean, I’ve always been a bit of an exhibitionist, and the idea of being immortalized in a calendar seemed kinda cool. So, I decided to make my own nude calendar.
First, I needed to find a photographer. I didn’t want some creepy dude with a questionable past. After some searching on Instagram, I found this photographer named Lara. Her work looked amazing, very artistic and tasteful. I reached out, and luckily, she was up for it.
Next, I had to pick the locations. I wanted to use different spots around my city, Amsterdam. We decided on a mix of iconic landmarks and hidden gems. I even managed to sneak in a shot at my favorite local bar when no one was looking.
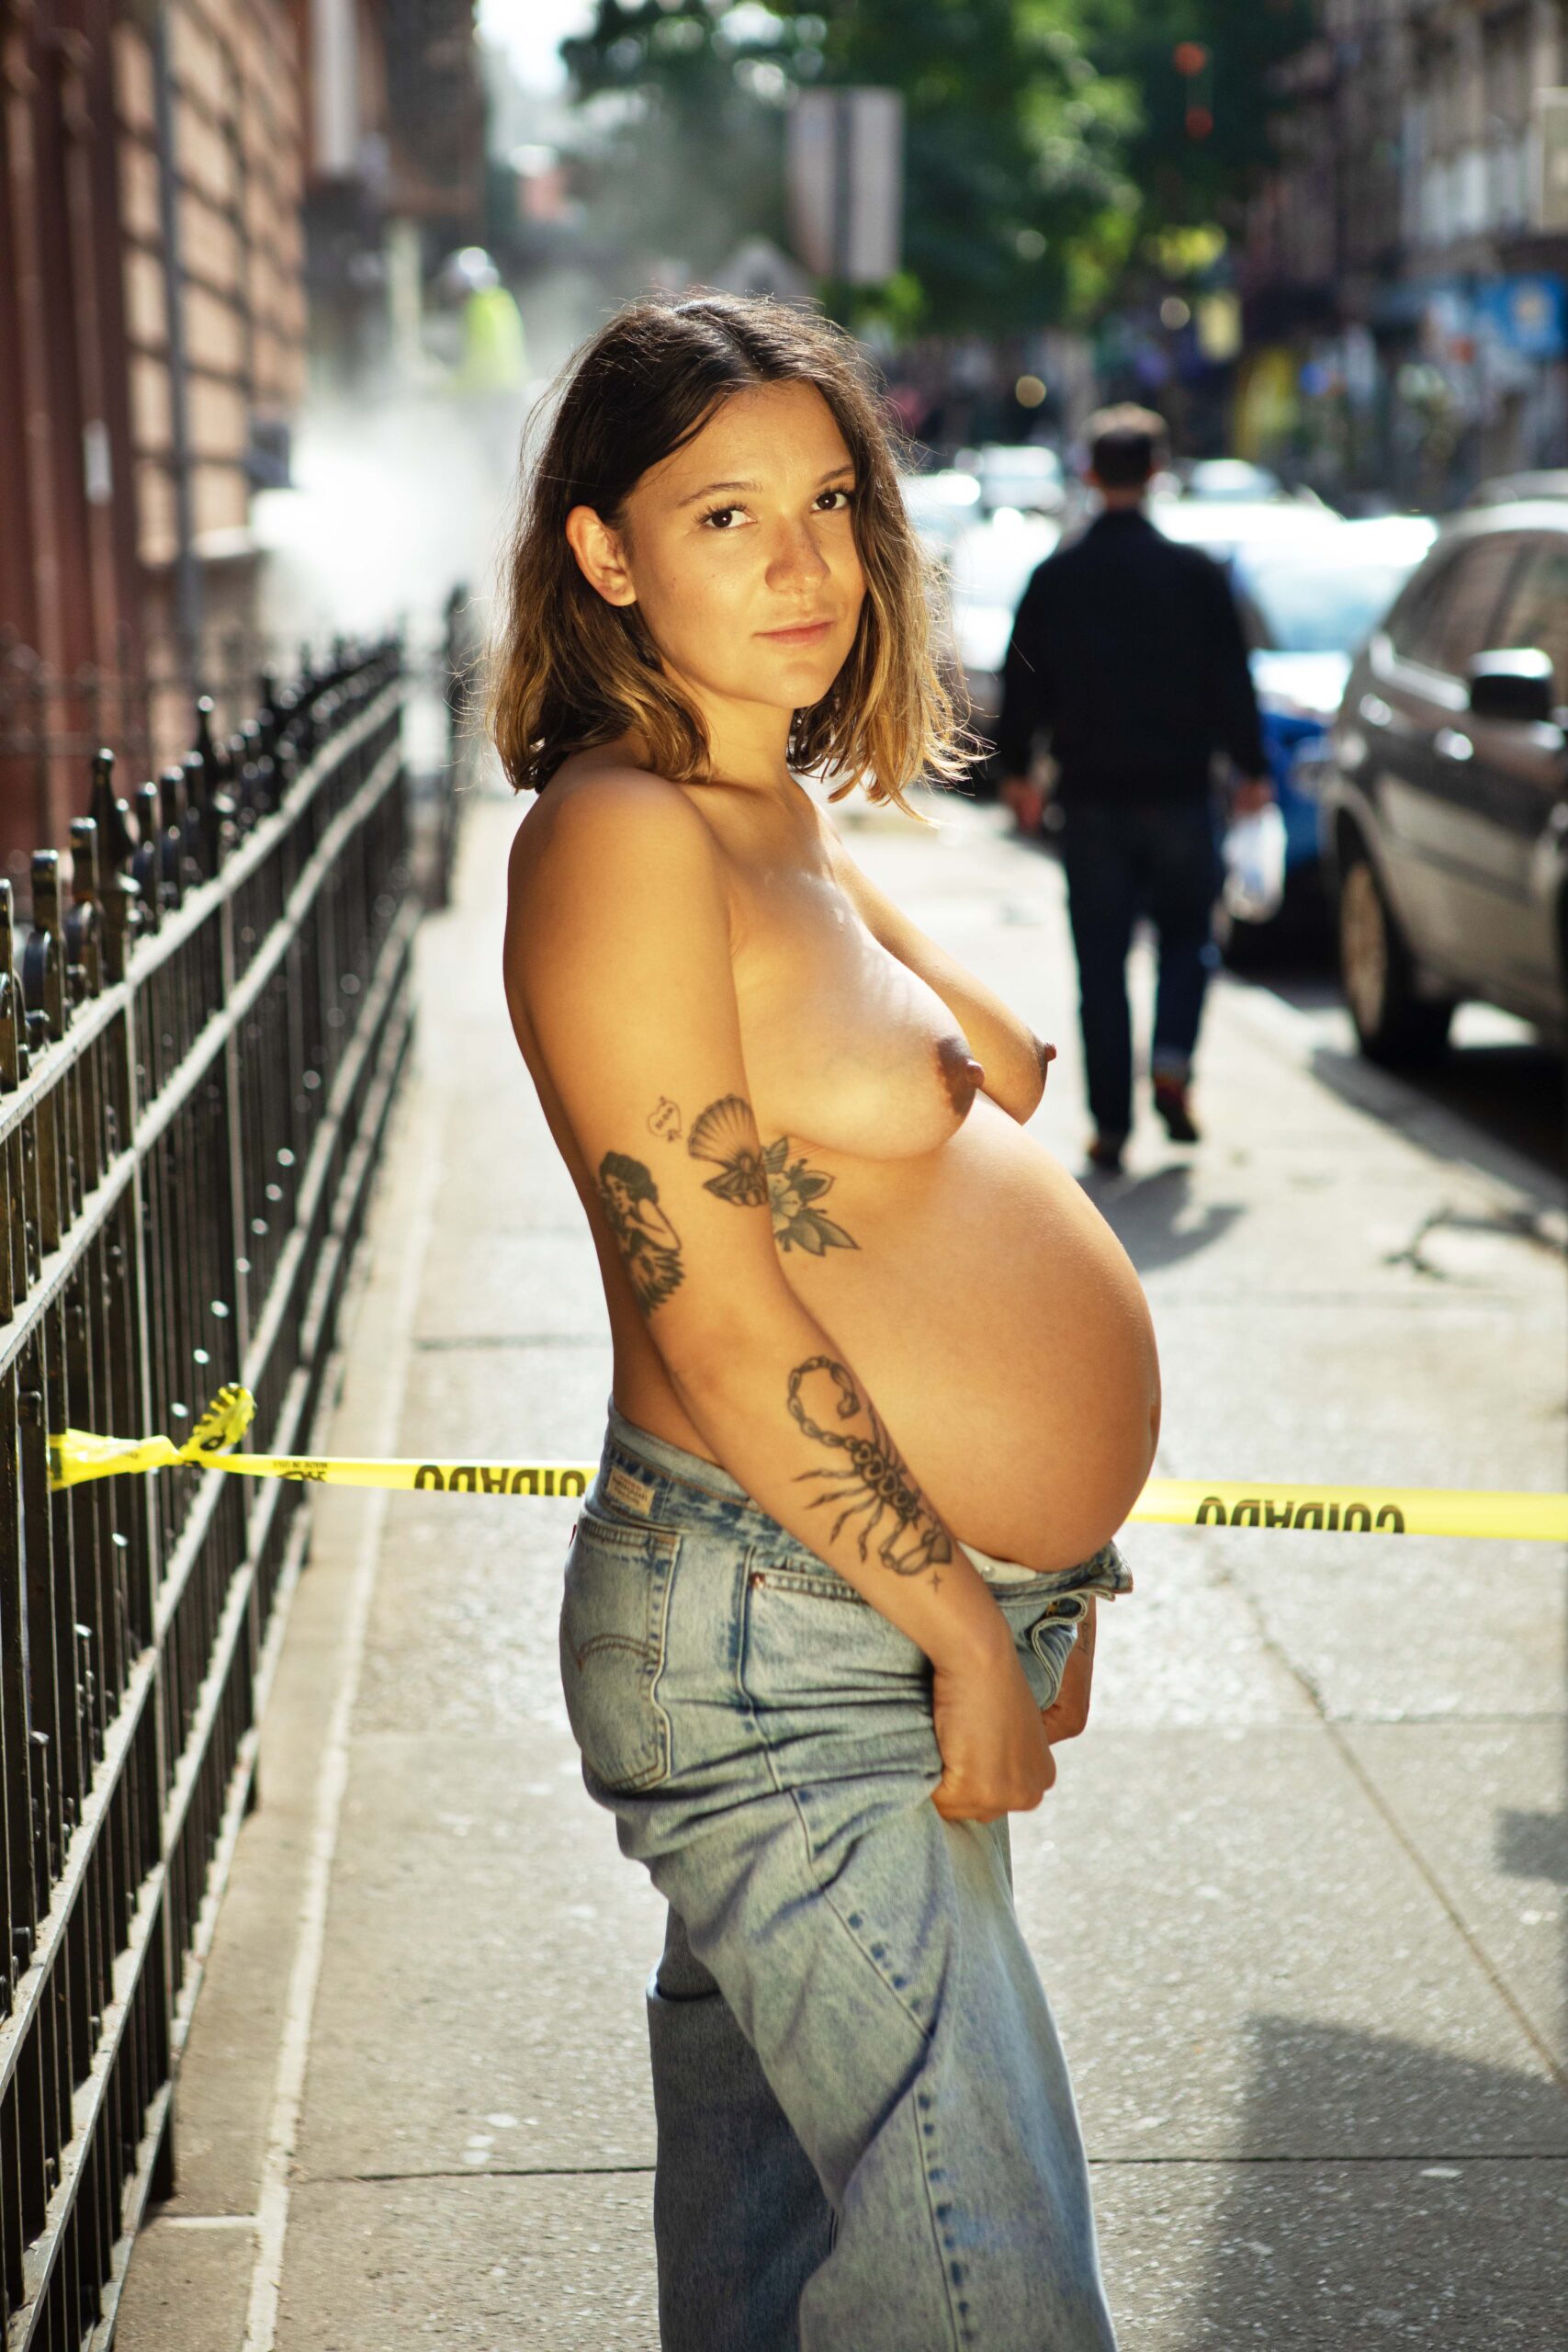
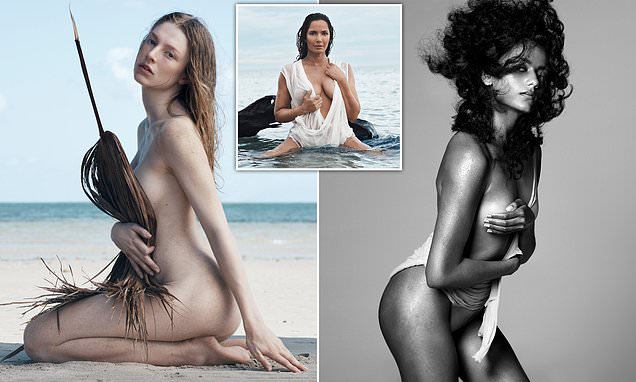
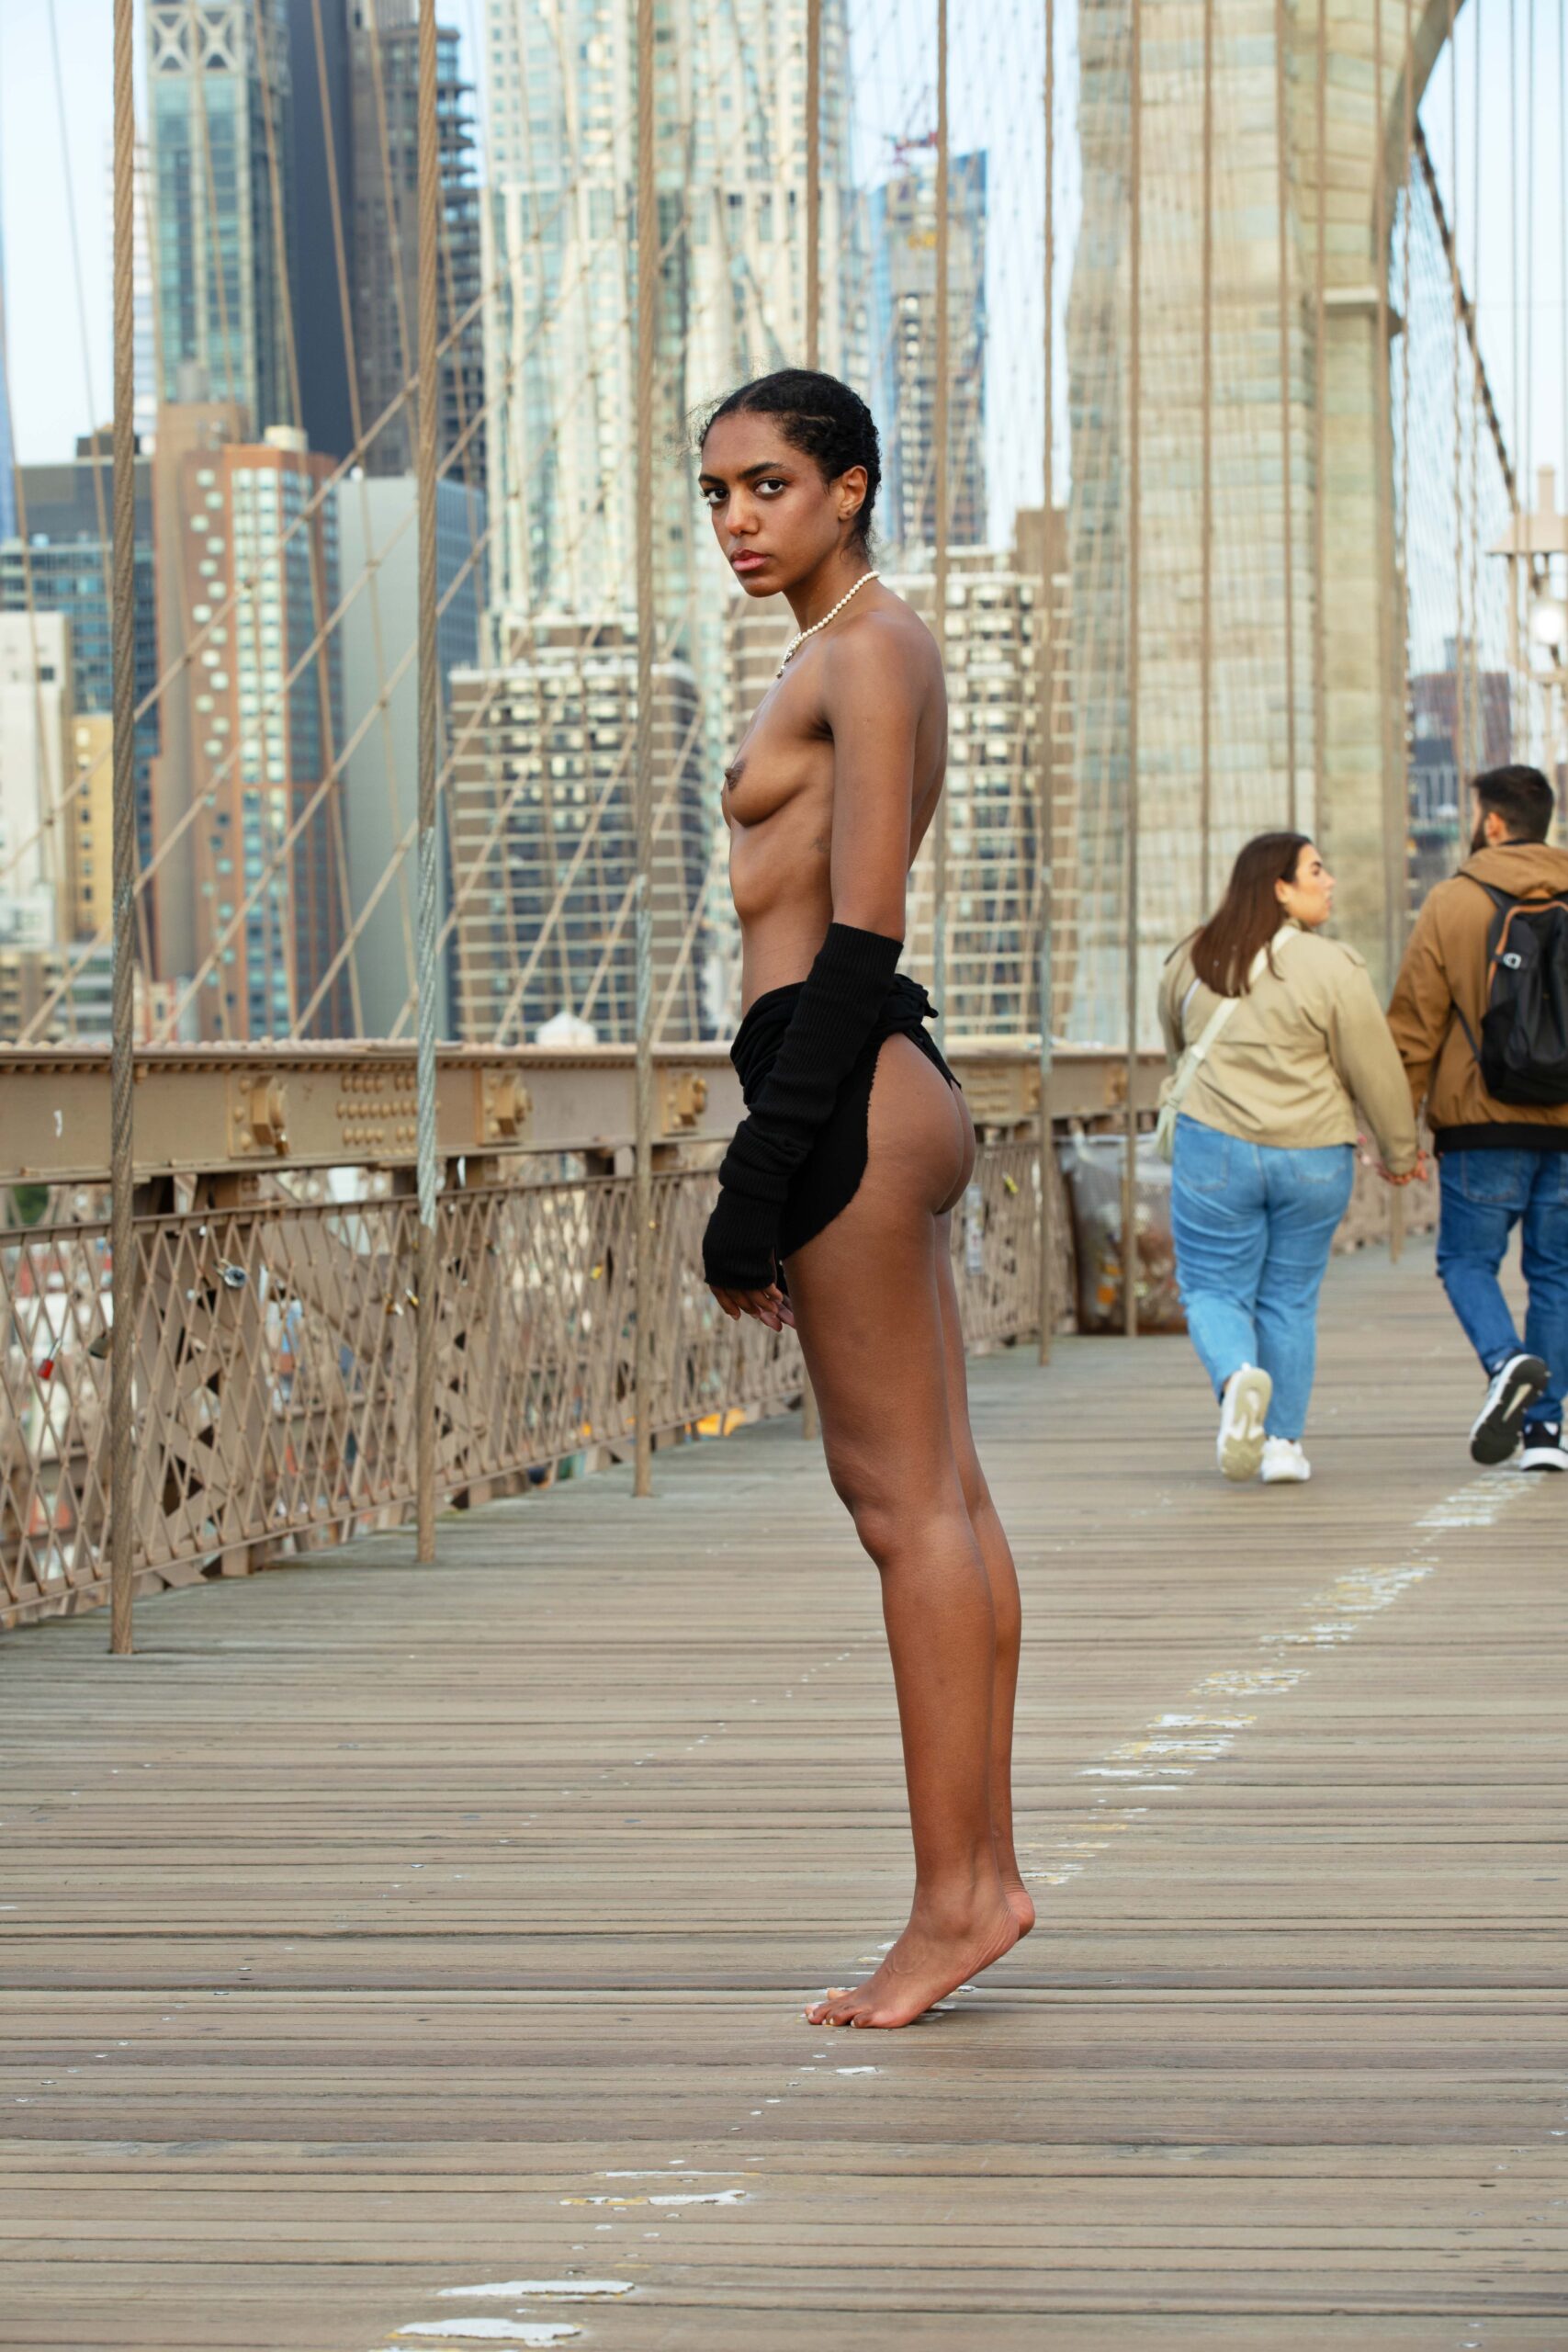
Then came the fun part – the photo shoots. It was a bit nerve-wracking at first, stripping down in public. But Lara was a pro, and she made me feel super comfortable. We started with some partially nude shots to ease into it, then went full monty. We had a few close calls with passersby, but we managed to get all the shots without getting arrested.
I have to admit, it was pretty exhilarating. There’s something incredibly freeing about being naked in a public place. It’s like you’re reclaiming your body and your space. Plus, the photos turned out incredible. Lara really captured the beauty of the city and, well, me.
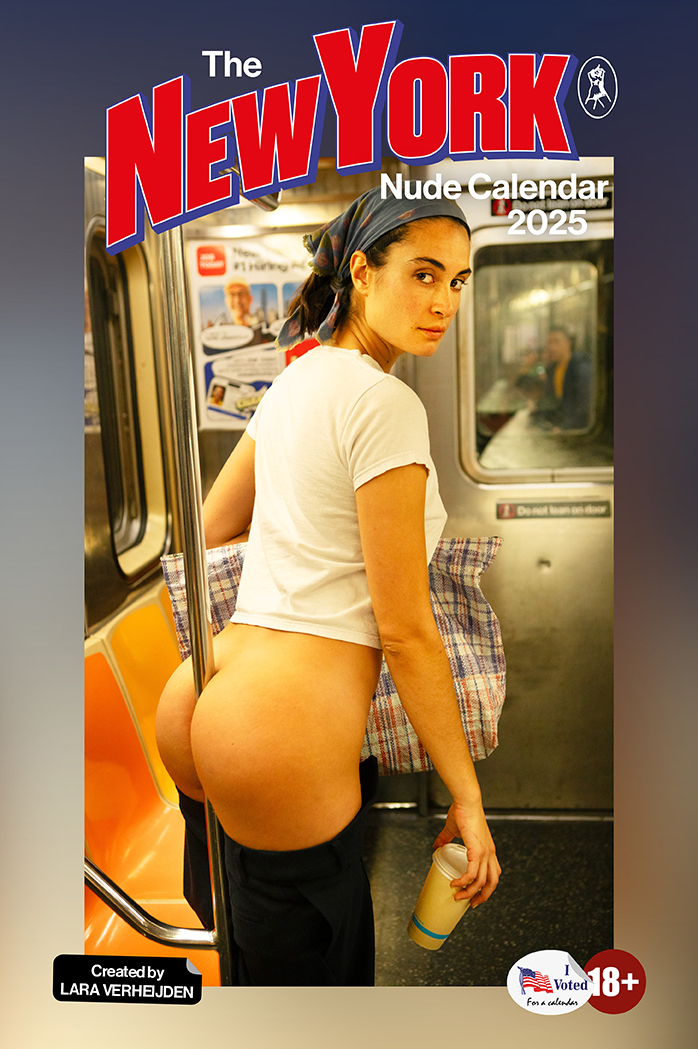
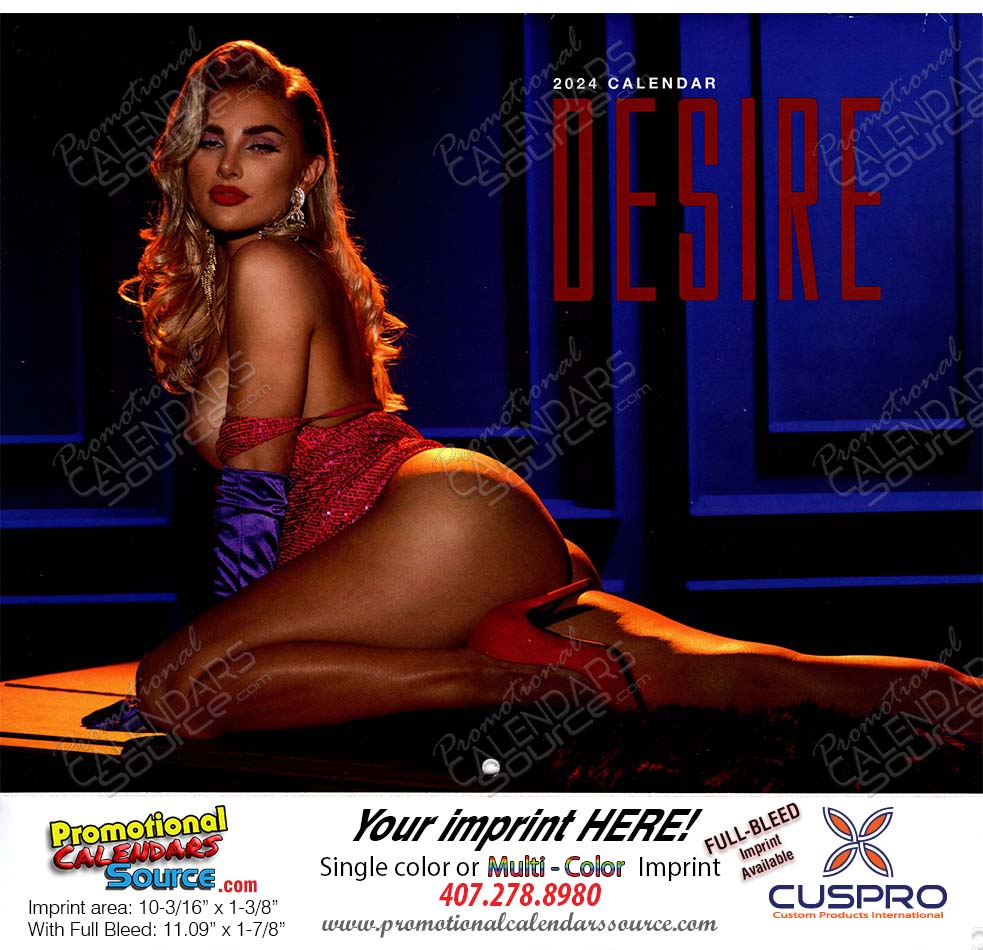
After the photos were taken, I had to choose which ones to use for the calendar. It was tough, but I narrowed it down to the 12 best shots. Then I spent hours and hours, I designed the layout, picked the fonts, and added some quirky quotes. I wanted it to be unique and reflect my personality.
Finally, I have to printed the calendars. I went with a local print shop that uses high-quality paper and printing techniques. I wanted the calendars to look and feel luxurious.
- Finding a photographer: This was the first hurdle. I needed someone professional and discreet, but also someone who could make me feel comfortable.
- Choosing locations: I wanted a variety of backdrops that showcased the beauty of my city.
- The photo shoots: This was the most exciting and nerve-wracking part. I had to overcome my inhibitions and embrace the experience.
- Designing the calendar: This involved selecting the best photos, designing the layout, and adding personal touches.
- Printing the calendars: I wanted a high-quality product, so I chose a reputable local print shop.
The final product was amazing. I was so proud of what I had created. It was a true work of art, and a testament to my own personal journey of self-acceptance and body positivity. I’ve already sold a few copies to friends and family, and the feedback has been overwhelmingly positive. I even made an extra copy to hang in my own living room. Who knew making a nude calendar would be so damn fulfilling?
I decided to share my experience online, hoping to inspire others to embrace their bodies and try new things. The response was mixed. Some people loved the idea, while others were less enthusiastic. But I didn’t care. I made the calendar for myself, and I loved it. That’s all that mattered.
So, that’s the story of how I made my own nude calendar. It was a wild ride, but I’m so glad I did it. It was an experience I’ll never forget, and it taught me a lot about myself. If you’re ever thinking about doing something like this, I say go for it. It’s not every day you get to be a work of art.
How I did it
Making my own nude calendar was a rewarding experience. It required careful planning and execution, but the final product was worth all the effort. If you’re considering a similar project, here’s a step-by-step guide based on my experience.
1. Conceptualization:
The first step was to conceptualize the calendar. I thought about the theme, the style, and the overall message I wanted to convey. I decided on a theme that celebrated body positivity and the beauty of the human form. I also chose a style that was both artistic and tasteful.
2. Finding a Photographer:
I needed a photographer who was skilled, discreet, and made me feel comfortable. I did some online research and reached out to a few photographers whose work I admired. After a few conversations, I found a photographer whose style aligned with my vision.
3. Location Scouting:
Next, I scouted locations for the photo shoots. I wanted a variety of backdrops that showcased the beauty of my city. I chose a mix of iconic landmarks and hidden gems. I also considered the lighting conditions and the time of day for each location.
4. The Photo Shoots:
The photo shoots were the most exciting and nerve-wracking part of the process. I had to overcome my inhibitions and embrace the experience. My photographer and I worked together to create a comfortable and safe environment. We started with some partially nude shots to ease into it, then went full monty. We had a few close calls with passersby, but we managed to get all the shots without getting arrested.
5. Photo Selection and Editing:
After the photo shoots, I had to choose which photos to use for the calendar. It was tough, but I narrowed it down to the 12 best shots. Then, I worked with my photographer to edit the photos, adjusting the lighting, contrast, and other elements to achieve the desired look.
6. Calendar Design:
Once the photos were edited, I designed the layout of the calendar. I chose the fonts, colors, and overall design aesthetic. I also added some personal touches, such as quotes and anecdotes, to make the calendar unique.
7. Printing and Production:
Finally, I had the calendars printed. I chose a local print shop that used high-quality paper and printing techniques. I wanted the calendars to look and feel luxurious. Once the calendars were printed, I inspected each one to ensure the quality met my standards.
Making my own nude calendar was a challenging but rewarding experience. It required careful planning, creativity, and a willingness to step outside my comfort zone. But the final product was a beautiful and unique work of art that I’m incredibly proud of.