


Today I tried to make some marquee numbers, you know, the ones that light up and look all fancy. I got the idea when I saw some pictures of birthdays and weddings online. These marquee numbers were everywhere, and they looked so cool. I thought, “Hey, I can make those!”
So, I began by gathering all the materials. I needed some wood, LED lights, and some basic tools. I went to the local hardware store and bought a big piece of wood. I figured it was better to have more than less. Then I got a bunch of LED lights. I chose the ones that looked like they would give a nice, warm glow. I also picked up some screws, a saw, a drill, and some paint. I was ready to start my project.
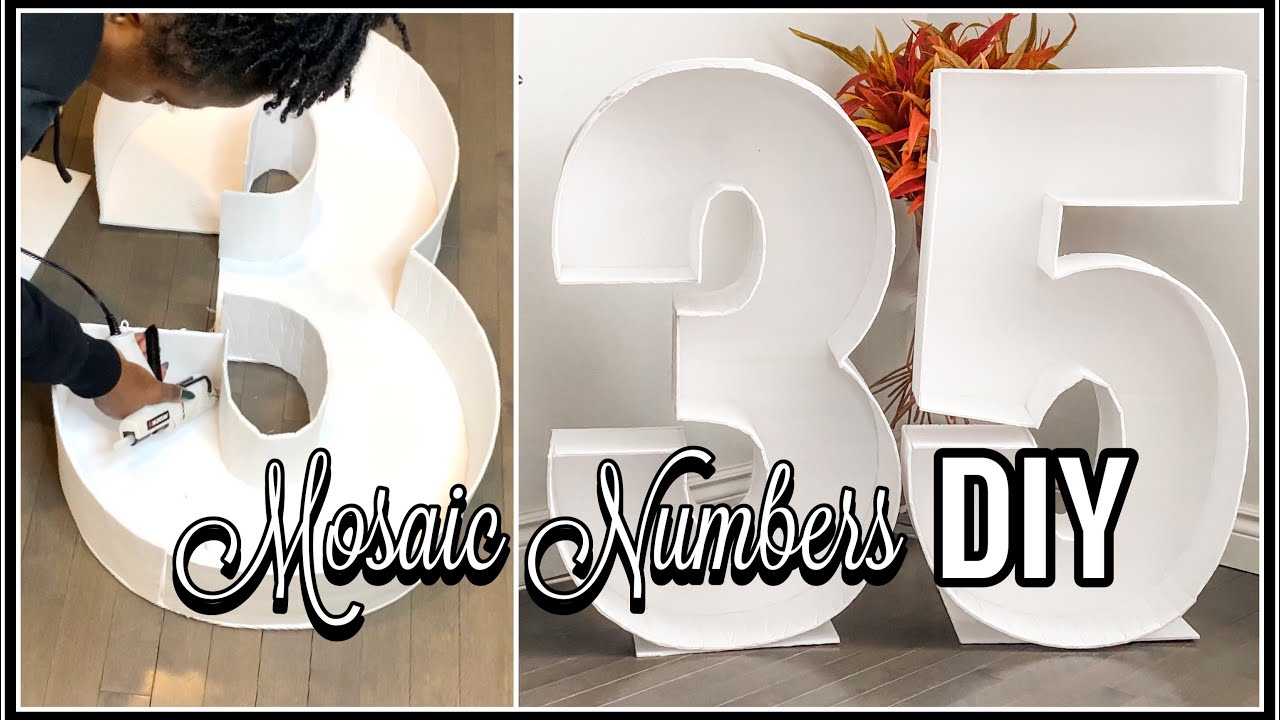
The first step was to draw the numbers on the wood. I used a pencil and a ruler to make sure everything was straight and even. I decided to make the numbers “1,” “6,” and “0” because I saw a picture that said “sweet 16” and another that had “50 and fab” and “dirty 30”, so I wanted to have a “0” to use it for any combination. They looked good on paper, so I thought they would be perfect. Once I was happy with the outlines, I started cutting the wood. This was the hardest part. I had to be careful not to mess up the shape of the numbers. It took some time, but I managed to cut them out without any major issues.
Next, I drilled holes for the LED lights. I spaced them out evenly around the edges of the numbers. This part was a bit tedious, but it was important to get it right. After drilling the holes, I tested the lights to make sure they all worked. They did, which was a relief.
Then came the painting. I chose a nice, white color to give the numbers a clean look. I applied two coats of paint, letting each coat dry completely before applying the next one. The numbers were starting to look really good.
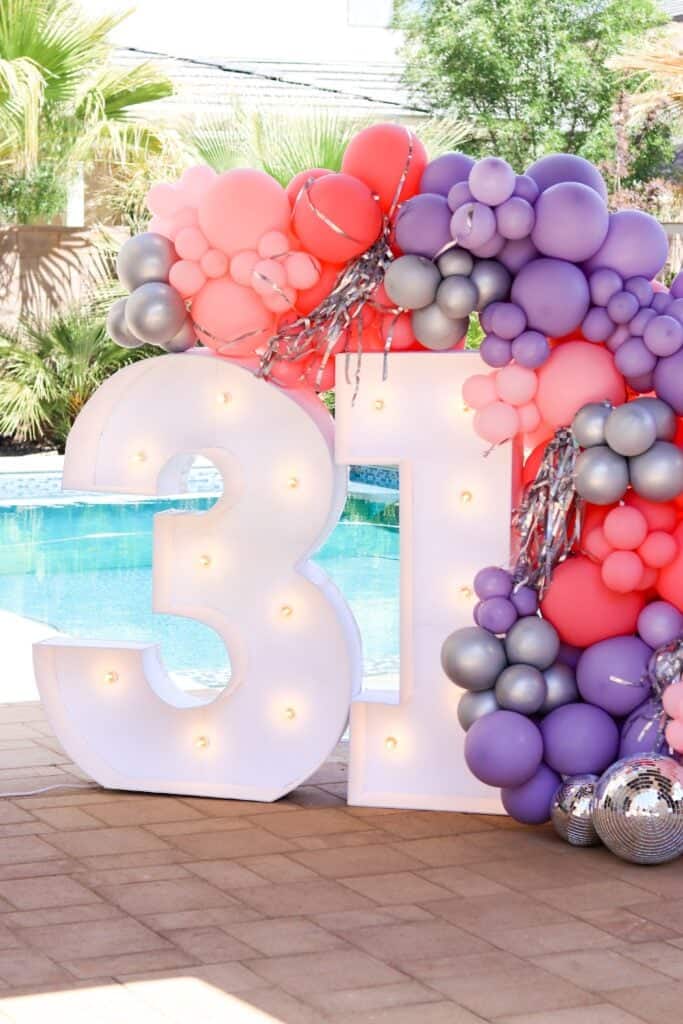
Once the paint was dry, I inserted the LED lights into the holes. I secured them in place, making sure they were snug and wouldn’t fall out. I connected the lights to a power source, and voilà! The numbers lit up beautifully. They looked amazing, just like the ones I saw online.
I was so proud of myself. I made something really cool with my own hands. I set up the marquee numbers in my living room, and they became an instant conversation starter. Everyone who saw them was impressed. I even got a few requests from friends to make some for their events.
Here are the steps I followed:
- Gather materials: wood, LED lights, screws, saw, drill, paint.
- Draw and cut: Draw the numbers on the wood and carefully cut them out.
- Drill holes: Drill evenly spaced holes for the LED lights.
- Paint: Apply two coats of paint, letting each coat dry completely.
- Insert lights: Secure the LED lights in the holes and connect them to a power source.
It was a fun and rewarding project. I learned a lot about woodworking and electronics. Plus, I now have these awesome marquee numbers to show off. I might even start making more of these to sell. Who knows, maybe this could turn into a little side business.
This is my story about making marquee numbers. I hope you enjoyed it. It is not too difficult. Maybe next time I’ll try making some marquee letters, or even some custom neon signs!