


Okay, so today I wanted to mess around with creating a custom map, and I decided to focus on the Mizzou campus (University of Missouri). I’ve seen some cool custom maps before, and I figured, why not give it a shot myself? It seemed like a fun little project.
Getting Started
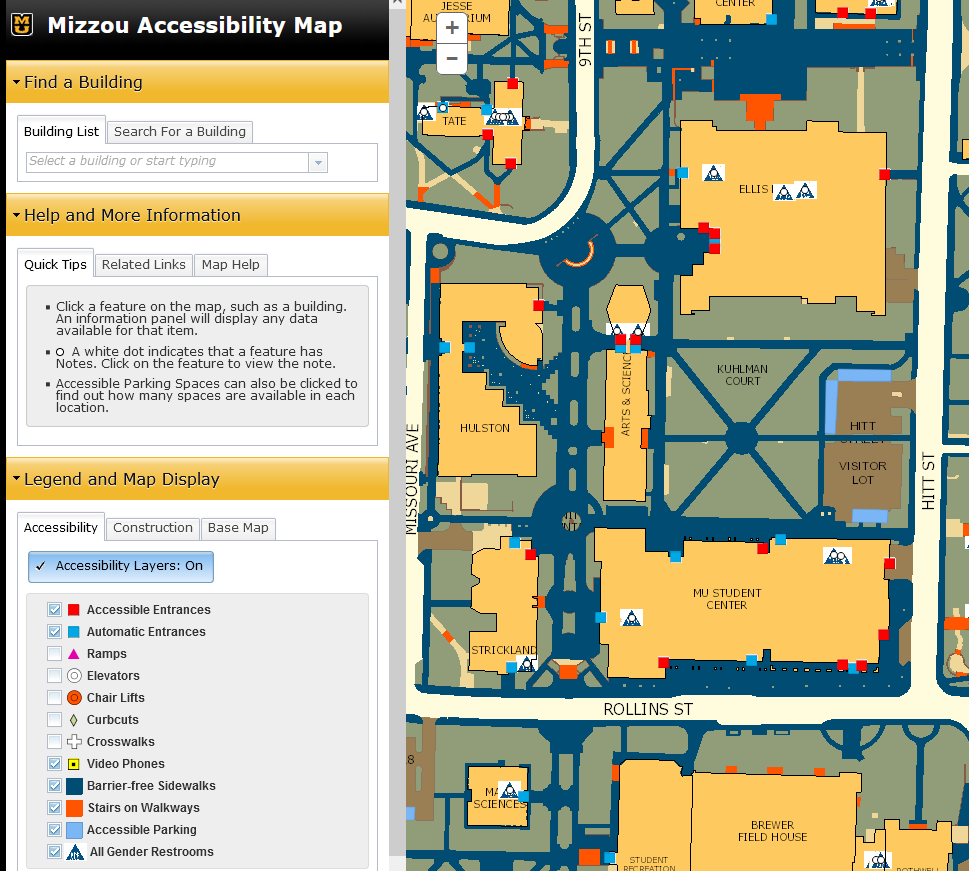
First things first, I needed some kind of base map to work with. I’m not about to draw the entire campus from scratch, no way! So, I hopped on the internet and started looking for existing maps of the Mizzou campus. I needed something that was clear, accurate, and that I could modify.
I spent a little time browsing, there’re many official maps of the campus. I looked at few options, finally find a campus map that would work.
Finding the Right Tools
Next, I needed to figure out how I was going to actually edit the map. I’m no graphic designer, so I needed something user-friendly. I did think about, that I should use tool which have a little drawing. Photoshop’s a classic, I think I could probably do what I needed, but it seemed like overkill.
I considered a few different options, like online map editors and some simpler drawing programs.
Finally, I find a online website, and it’s totally good. I decided to go with that because I think it is easy to edit and change something inside.
The Editing Process
This is where the real “fun” began. I uploaded my base map to the online editor. I started by marking some key locations – things like my favorite coffee shop on campus, the library where I spend way too much time, and of course, the iconic columns.
- Step 1: I used the “add marker” tool. Picked a simple pin icon and changed the color to something that stood out.
- Step 2: Then, I added some labels. I wanted to make sure everything was clearly identified.
- Step 3: I played around with different colors and fonts for the labels, trying to find something that looked good and was easy to read.
I also wanted to highlight some specific routes, like the path I usually take to get from my apartment to my morning classes. For this, I used the “draw line” tool.
- I chose a dashed line style to make it visually distinct from the roads and buildings.
- I also experimented with different line thicknesses until I found one that looked just right.
The whole process took a couple of hours. It was a bit tedious at times, making sure everything was lined up correctly and that the labels were positioned nicely. But honestly, it was also kind of relaxing, just focusing on this one little project and making it look exactly how I wanted.
The Final Result
I’m pretty happy with how it turned out! It’s not perfect, but it’s my custom Mizzou map. It has all the places that are important to me, marked in a way that makes sense to me. I learned few things, and I think next time I could make it more beatuiful.
It’s definitely more useful than a generic campus map, at least for my daily routine. I think I’ll make few more differnt type of custom maps, It’s really interesting.


