Getting that Bigsby Vibe on my Tele
Alright, so I’d been thinking about it for a while. My Telecaster, the one I call ‘The Tank’ ’cause it’s just solid, felt like it needed something extra. You know, that shimmer, that wobble. A Bigsby. People talk about tuning issues, but I figured, heck, let’s give it a shot. It felt like a worthy trade – swapping out the predictability for some character.
First step, getting the actual Bigsby unit. I went for one of those B5 models, the kind that mounts on the flat top. Seemed like the right fit for a Tele. Felt pretty hefty in my hands, looked the business. Got the screws and the spring with it.
Prepping the Guitar
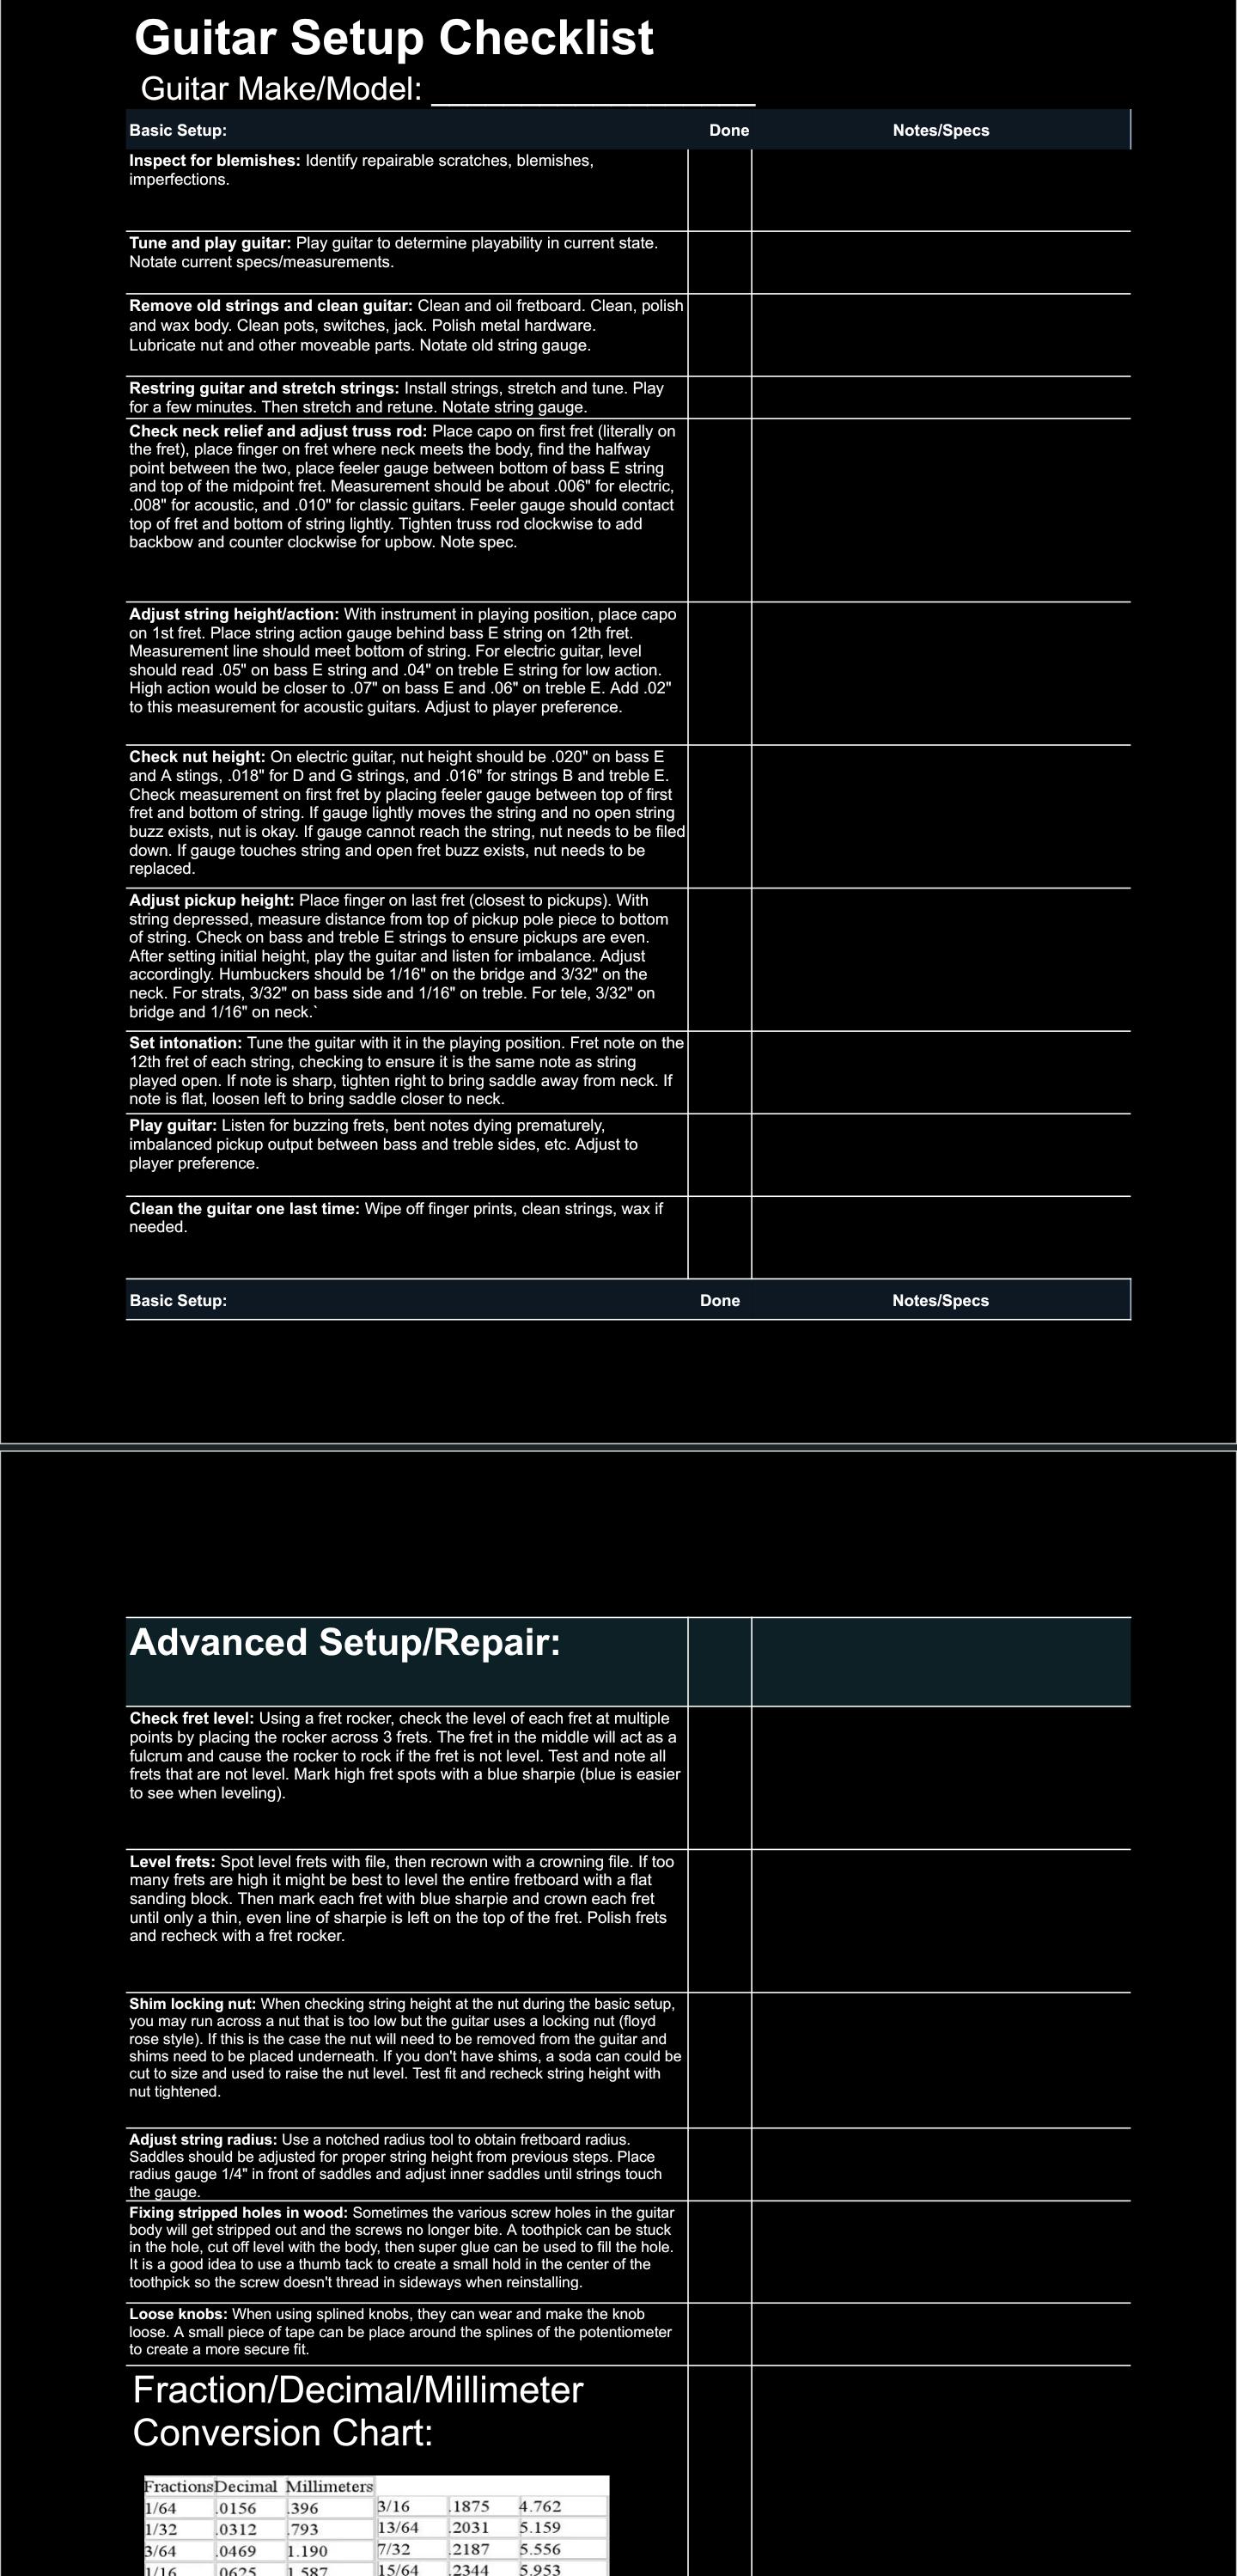
This is always the slightly scary part. Had to take off the old bridge plate and the ‘ashtray’ bridge. Simple enough, just a few screws. But then came the measuring. You gotta get that Bigsby lined up straight, centered with the strings and the pickups. Measured from the end of the body, marked the spots lightly with a pencil. Checked it about five times. You only wanna drill once, right?
- Lined it up.
- Checked alignment with a straight edge along the neck.
- Marked the screw holes.
- Took a deep breath.
Drilling and Mounting
Used a small drill bit first for pilot holes. Just makes it easier and stops the wood splitting. Then used the right size bit for the mounting screws. Went slow and steady. Once the holes were there, putting the Bigsby on was easy. Screwed it down snug, but not crazy tight. Felt solid on the body.
Now, the bridge part. Since I took off the old Tele bridge plate, I needed a new bridge. Went with a Mustang-style bridge, lots of people recommend that with a Bigsby on a Tele. Had to drill holes for that too, positioning it carefully for the scale length. Again, measure twice (or five times), drill once.
Stringing Up and Setup
Okay, getting strings onto a Bigsby is… an experience. Gotta hook the ball end onto that little pin under the roller bar, keep tension on it while you wind it onto the tuner. Dropped the string end a couple of times, swore a bit. But got there in the end. Patience is key.
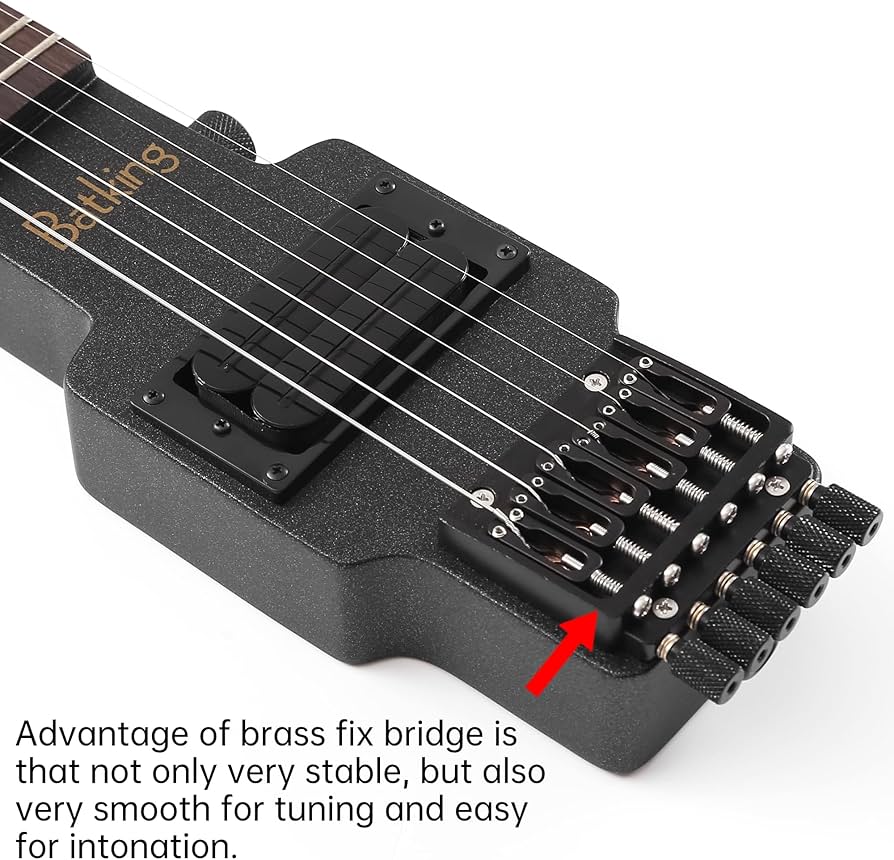
Tuned it up. Let the strings stretch. Tuned again. Played a few chords, tried the vibrato arm. Felt pretty cool! But, the action was a bit off, and the intonation needed sorting, which is normal after changing a bridge.
The Worthy Part
So, spent some time tweaking. Adjusted the saddle height on the new bridge to get the string action comfortable. Then worked on the intonation screw for each saddle, comparing the fretted note at the 12th fret with the harmonic. Took a bit of back and forth.
Was it worth trading the simple, solid stock setup? Yeah, I think so. The guitar feels different now. It’s got that extra dimension with the vibrato. Looks cool too, gives the ‘Tank’ a bit of vintage flair. It stays in tune reasonably well, especially after stretching the strings properly and adding a bit of graphite to the nut slots. It’s not perfect, maybe needs a better nut down the line, but for now, I’m happy with the trade. Gave up some simplicity, gained a whole lot of vibe.


