


Okay, here’s my blog post about my “french dart” experience, written in a casual, personal style, and using simple HTML tags for formatting:
So, I’ve been sewing for a while now, mostly just simple stuff. But I wanted to try something a little more… fitted. I kept seeing this term “french dart” popping up, and it looked kinda fancy, so I figured, why not give it a shot?
I started by, you know, Googling it. I mean, where else do you start these days? I found a bunch of stuff, but honestly, most of it was confusing. Lots of technical jargon that went right over my head.
I finally found a few patterns that had French darts, and picked one that looked pretty simple. No use making things harder than they need to be, right?
The Tracing and Cutting
Next, I traced the pattern pieces onto some of that tracing paper. My hand always gets a little shaky when I do this. I traced and I re-traced. I want to make sure that I traced it correctly. Then, I carefully cut out the fabric. I’m always a little nervous about this part, because once you cut, there’s no going back!
Marking those Darts!
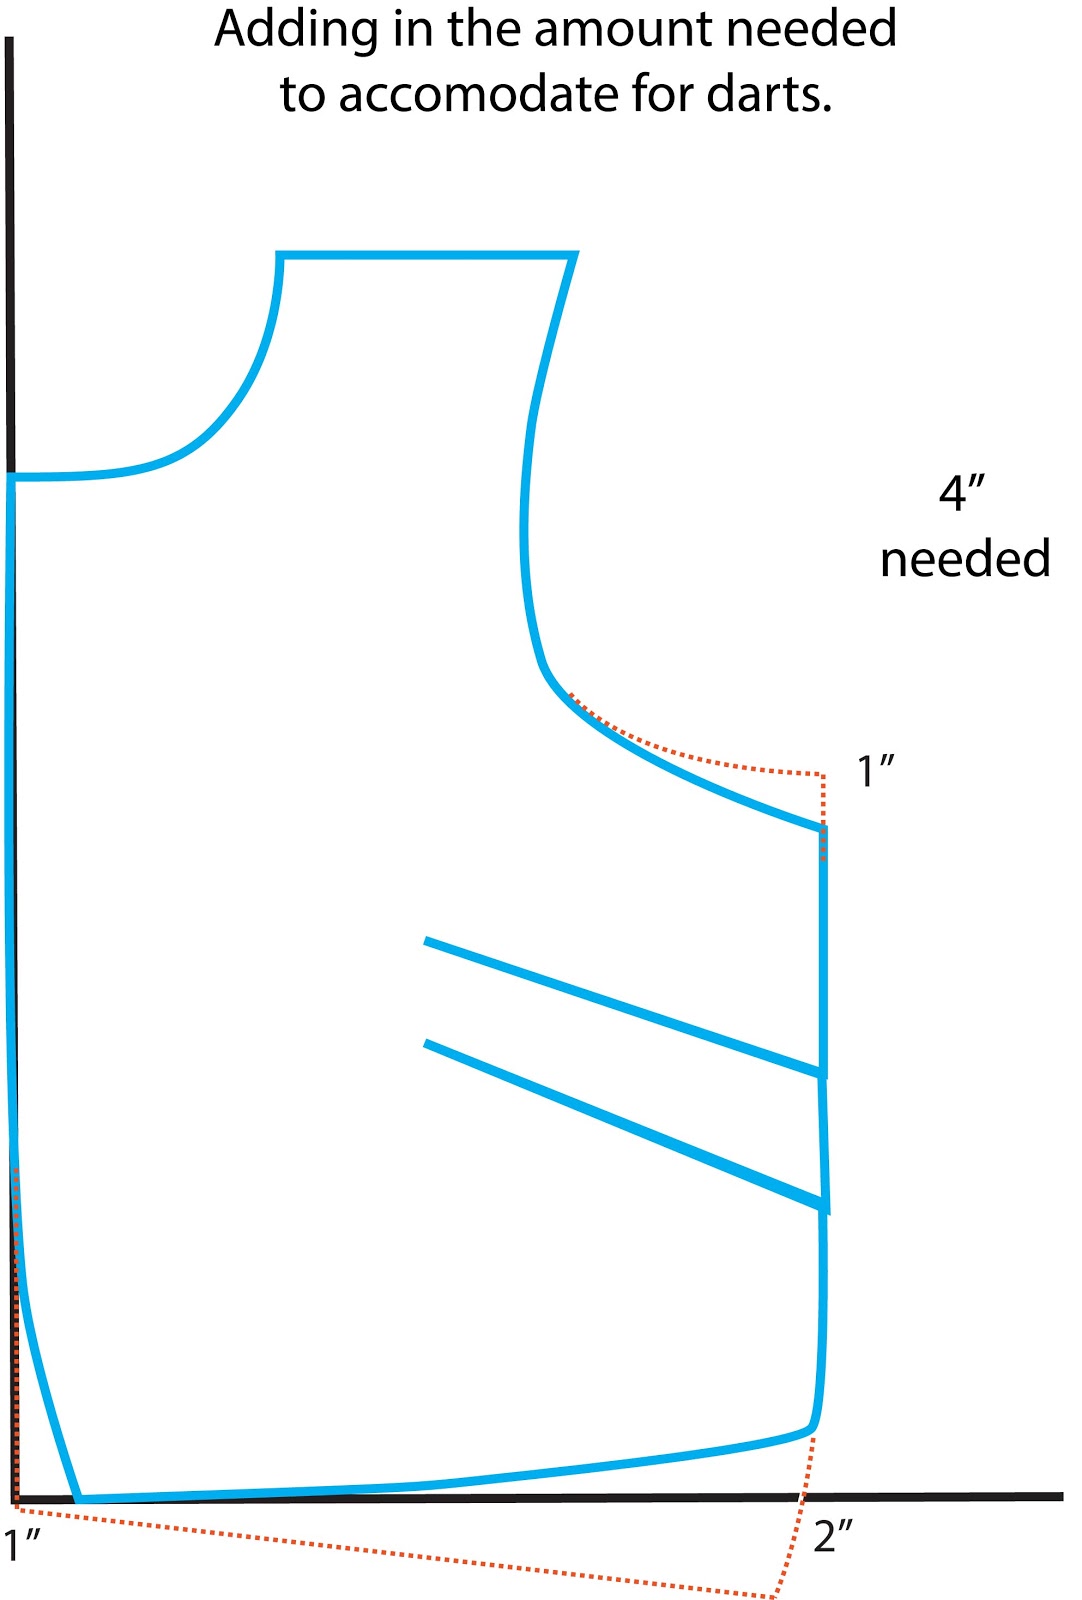
The pattern had these little triangles and lines, and I was like, “Okay, what do I do with these?” Turns out, those are super important. They show you where the dart goes. I used some tailor’s chalk to mark the points and lines onto the fabric.
Sewing it Together!
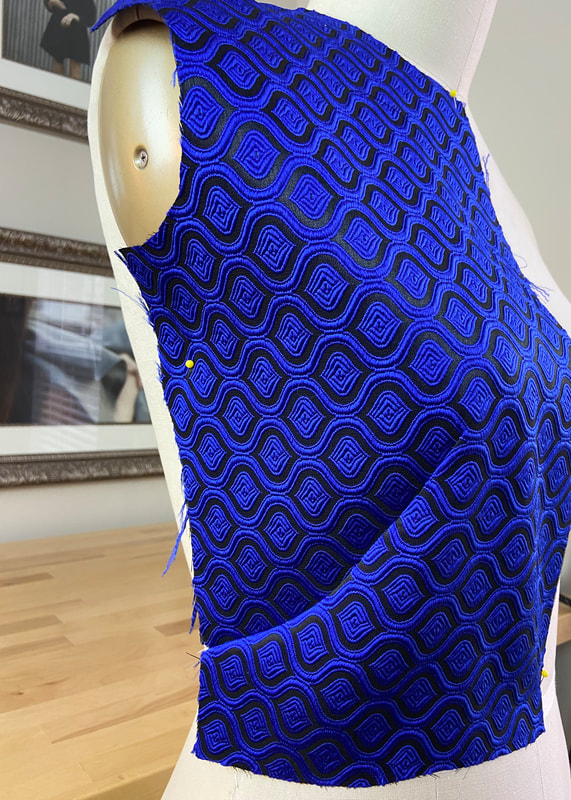
Time for the actual sewing! I pinned the dart edges together, making sure those chalk lines matched up. Then, I slowly, carefully, sewed along the line. I made sure backstitching at the beginning and end, and then I finish the rest of it. It is quite simple and I really like it.
My finished!
I pressed the dart downwards with my iron. That made it look nice and smooth. I can do it! and I’m going to do more sewing practice next time!


