


Okay, so I needed a belt holder, like, really bad. My closet was a mess, belts everywhere, tangled up like a bunch of snakes. It was driving me nuts! So, I decided to finally tackle this problem head-on.
First, I looked around online for some ideas. Saw a bunch of fancy, store-bought ones, but honestly, I didn’t want to spend a ton of money. Plus, I kinda wanted to see if I could just make one myself.
My DIY Belt Holder Journey
I started by digging through my garage. Found some scrap wood – an old shelf, actually – and thought, “Perfect!” It was already a good length, so I didn’t even need to do much cutting.
- Gathered my tools: a hammer, some nails, and a saw (just in case).
- Cleaned the wood. It was pretty dusty, so I gave it a good wipe down with a damp cloth.
- Figured out the spacing. I laid my belts out on the wood to see how much space I wanted between each one.
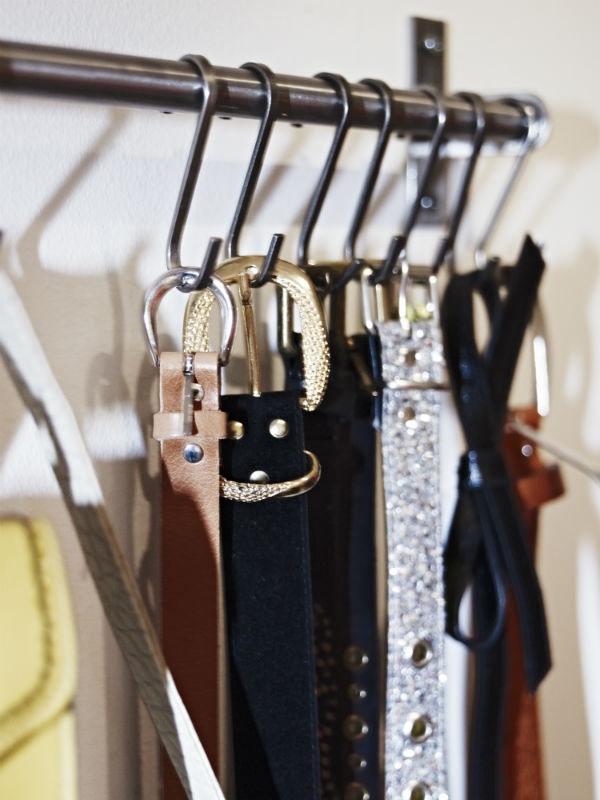
Next, I grabbed some old hooks I had lying around. They were those simple, metal ones you screw into the wall. I spaced them out evenly along the wood, marking the spots with a pencil.
Then came the fun part (sort of): screwing the hooks in. My hands got a little tired, but it wasn’t too bad. A few of them went in a little crooked, but hey, it’s handmade, right? Adds character!
Finally, I nailed the whole thing to my closet wall. Stepped back, and bam! My belts were all lined up, nice and neat. No more tangled mess.
It’s not the prettiest thing in the world, but it works! And it feels good to have made something useful with my own two hands. Plus, I saved some money. Win-win!


