


Okay, so I’ve been meaning to fix up some scratches on my car, and I finally got around to trying out these “automotive paint pens.” Let me tell you, it was a bit of a journey, so I thought I’d share my experience.
Getting Started
First, I gathered all my supplies. This included:
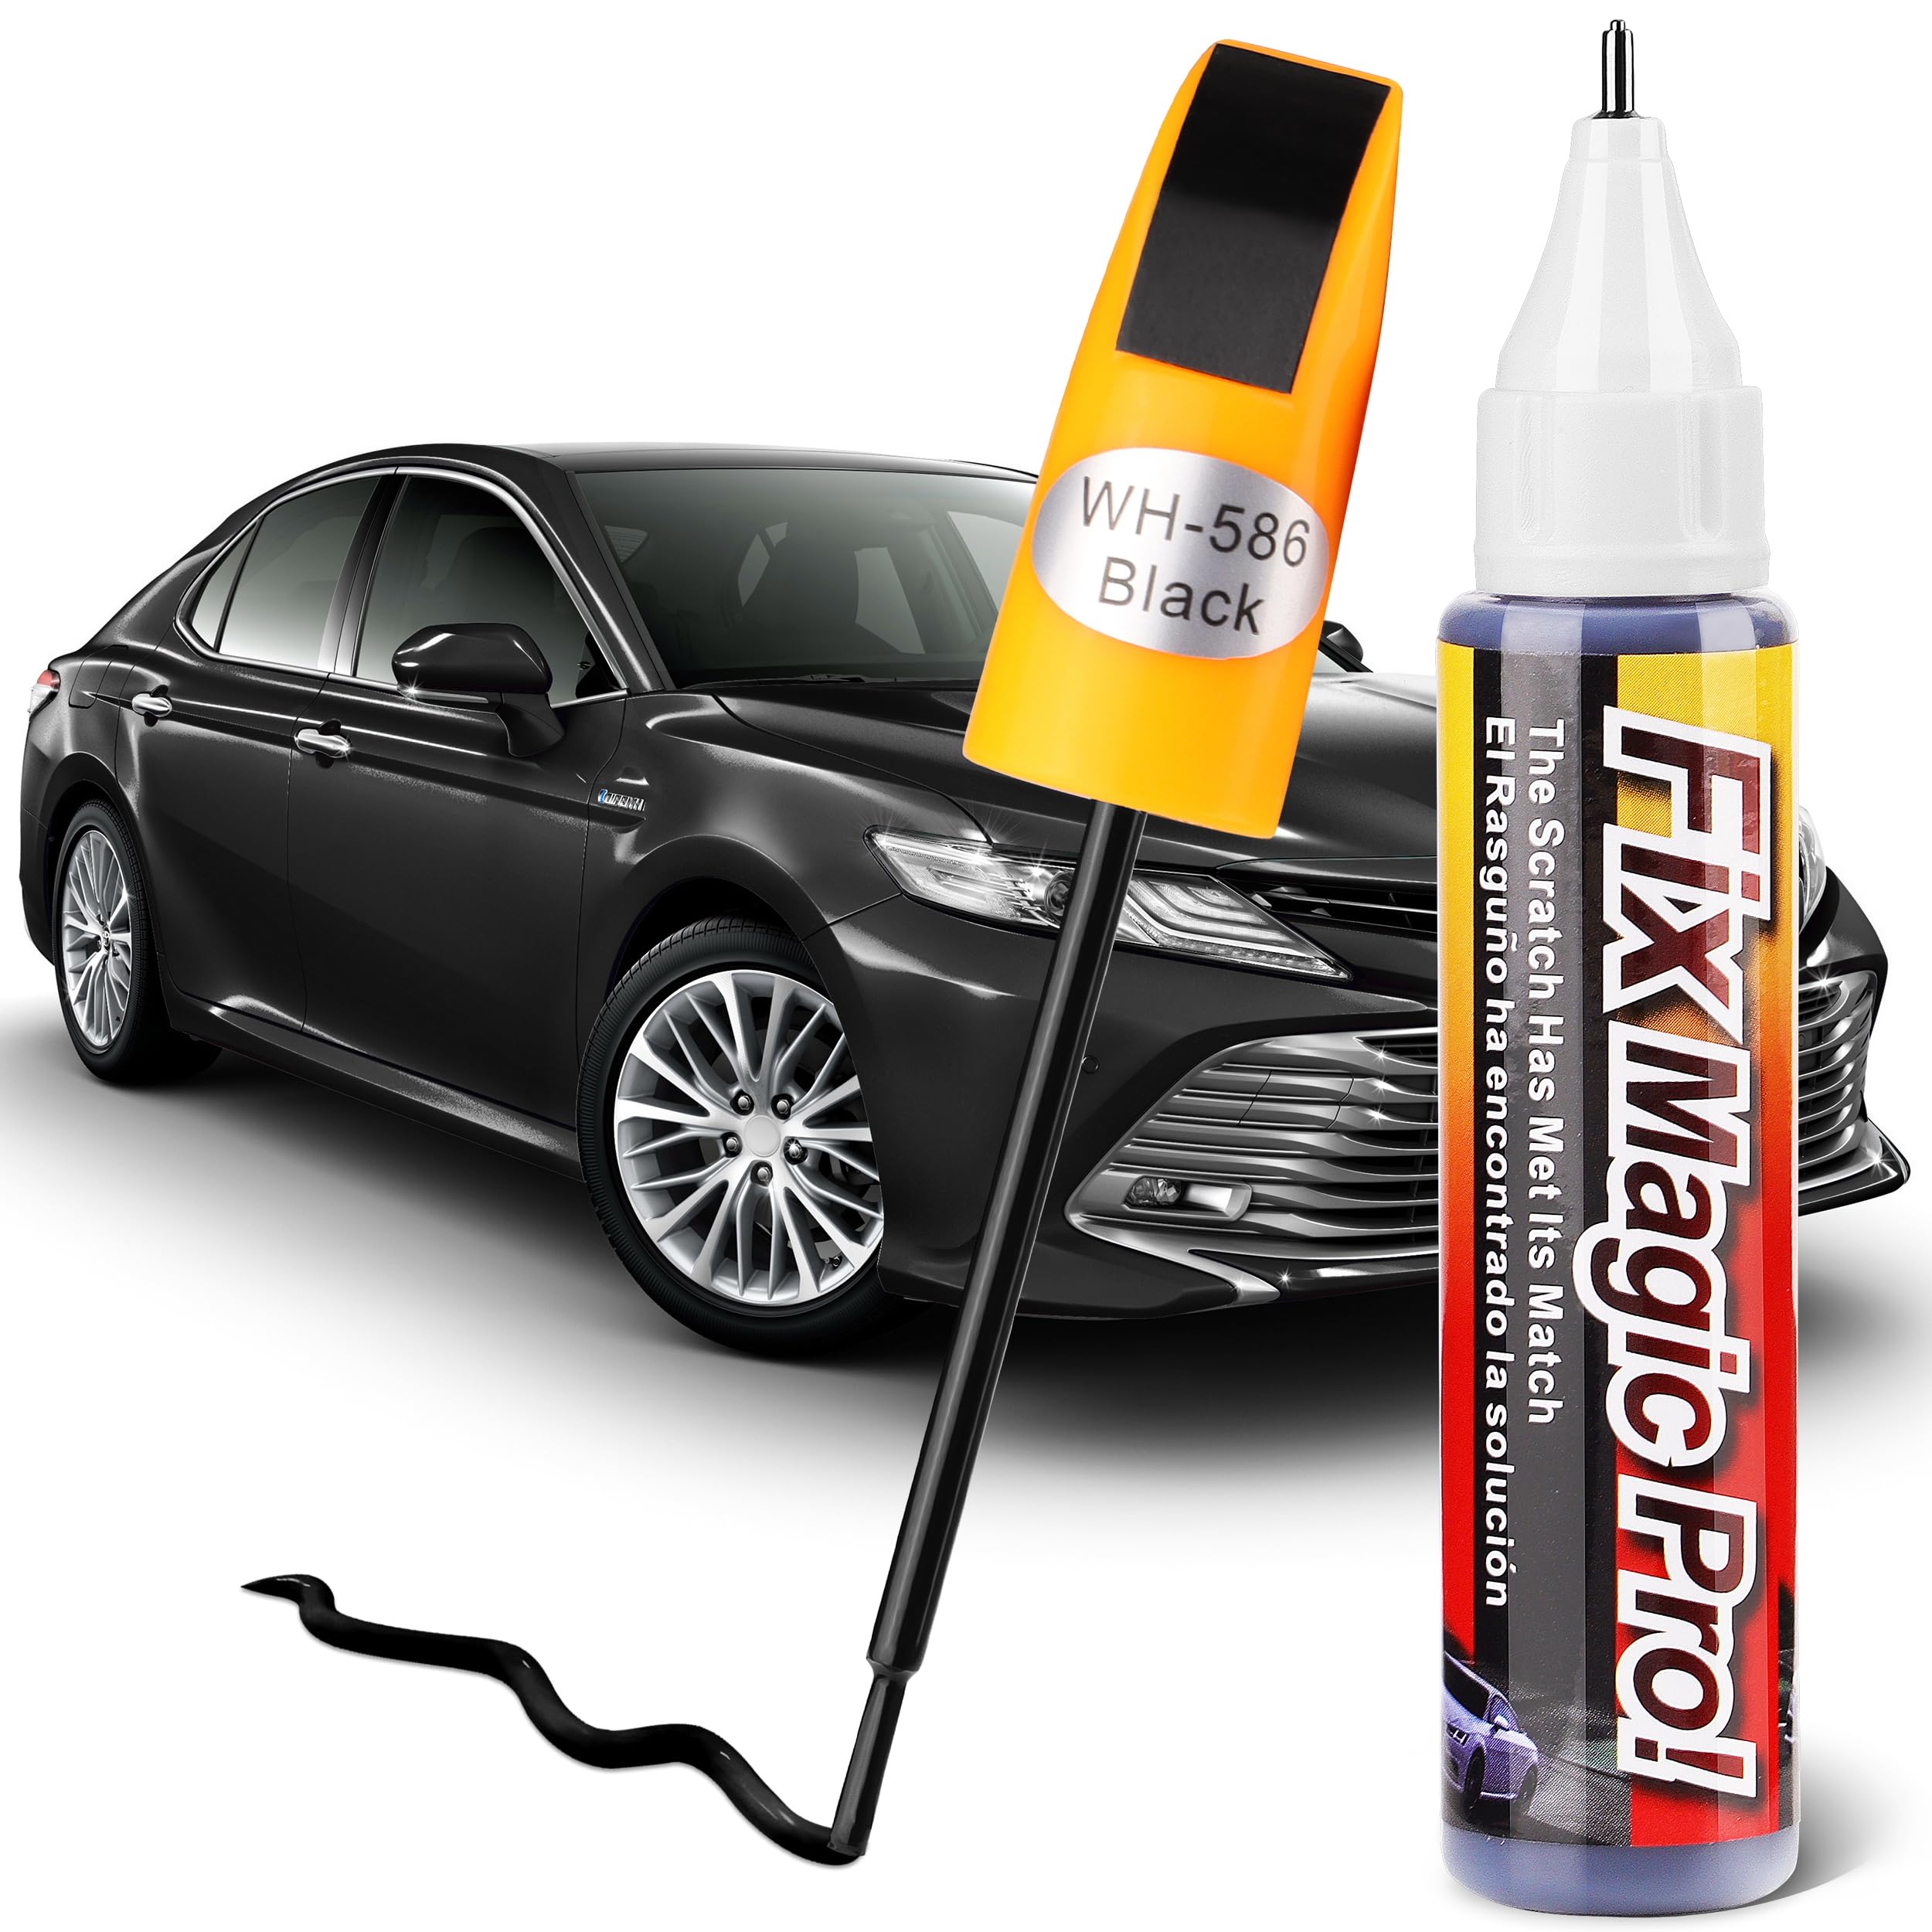
- The paint pen itself (obviously!) – I made sure to get one that matched my car’s color code.
- Some wax and grease remover.
- A clean microfiber cloth.
- Some fine-grit sandpaper (just in case).
- Painter’s tape.
The Prep Work
I started by cleaning the scratched area really well. I used the wax and grease remover and wiped it down thoroughly with the microfiber cloth. You want to make sure there’s absolutely no dirt or grime, otherwise, the paint won’t stick properly. If the scratch is really deep or has rough edges, you might need to lightly sand it down, but mine were pretty minor, so I skipped that step.
Then, just to be safe, I used the painter’s tape to mask off the area around the scratch. This helps to prevent any accidental paint blobs from getting on the surrounding paint. A steady hand is helpful, but tape is even better!
Applying the Paint
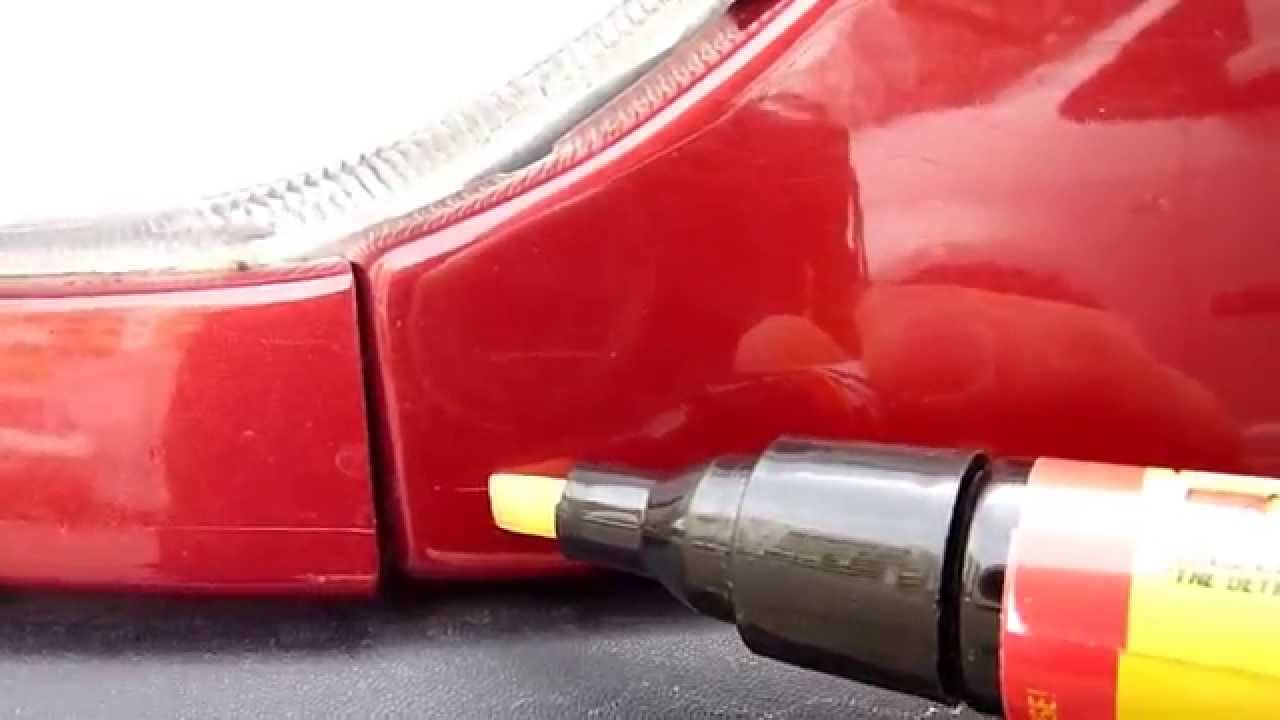
Now for the main event! The paint pen I got had a little ball bearing inside, so I shook it up really well for a minute or two, just like the instructions said. Then, I pressed the tip down on a piece of scrap paper to get the paint flowing. It took a few presses to get it going smoothly.
I carefully applied the paint to the scratches, using light, even strokes. The key here is to not put too much paint on at once. It’s better to do multiple thin coats than one big, gloppy one. I let each coat dry for about 10-15 minutes before applying the next. I think I ended up doing three coats in total.
The Finishing Touches
After the final coat dried completely (I waited a good hour just to be sure), I carefully removed the painter’s tape. Then, I stood back and admired my handiwork! The scratches were way less noticeable, and the color match was pretty spot-on.
I did notice a little bit of a raised edge where the new paint met the old paint, but it’s it is not very noticeable.
Overall, I’m pretty happy with how it turned out! It’s definitely not a professional-level repair, but for a quick and easy DIY fix, the paint pen did the trick. It saved me a trip to the body shop, and my car looks much better now.


