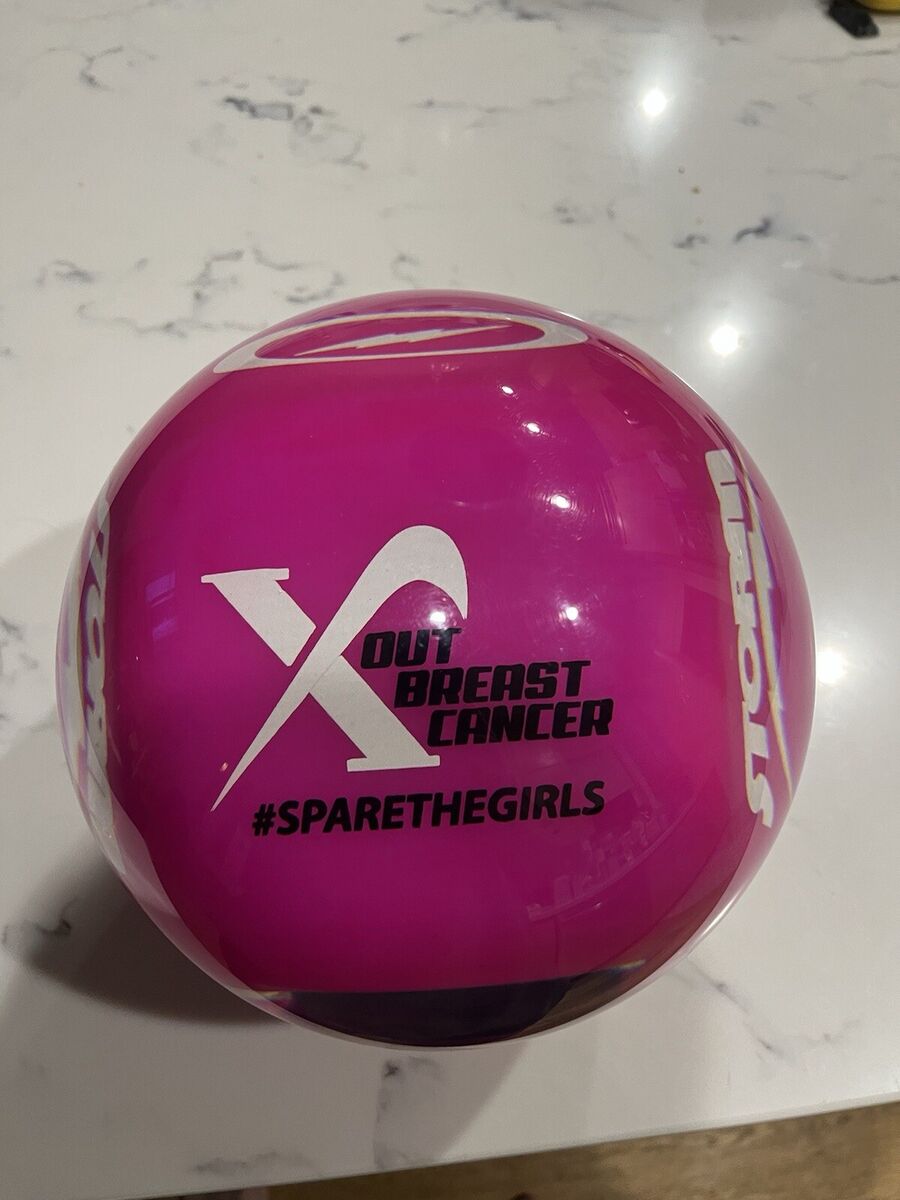
Alright, buckle up folks, because I’m about to spill the beans on my latest DIY project: a “strike against cancer” bowling ball. Yeah, you heard that right. It’s a bit of a wacky idea, but stick with me.
It all started when my local bowling alley announced a charity event to raise money for cancer research. I’m no pro bowler, far from it, but I figured I could contribute something unique. So, the idea hit me: a custom bowling ball that not only looks cool but also carries a message of hope and resilience.
First things first, I grabbed a plain white bowling ball from a sports store. Nothing fancy, just a blank canvas waiting for some action. Then, the real fun began. I spent a good chunk of time researching different ways to customize a bowling ball. Turns out, it’s not as simple as slapping on some stickers. You need proper paint, sealant, and a whole lot of patience.

Next up, the design. I wanted something visually striking and meaningful. I settled on a design that featured a ribbon (the cancer awareness symbol) intertwined with a phoenix rising from ashes. The phoenix represents hope, rebirth, and overcoming adversity – perfect for the cause. I sketched out the design on paper first to get a feel for how it would look on the ball.
Then I went to the local art supply store. I picked up acrylic paints in vibrant colors – mainly blues, purples, and a touch of gold for the phoenix. I also grabbed some fine-tipped paint brushes for detail work and a clear coat sealant to protect the finished design.
The painting process was… challenging, to say the least. Bowling balls aren’t exactly flat, so getting clean lines and smooth gradients took some serious effort. I started with the ribbon, carefully outlining it with a light pencil. Then, I filled it in with the blue and purple acrylics, blending them to create a sort of gradient effect. I had to let each layer dry completely before adding the next to prevent smudging.
The phoenix was even trickier. I started with a rough outline, then layered on the gold paint, feather by feather. The fine-tipped brushes were a lifesaver here, allowing me to add intricate details to the wings and tail. I messed up a few times, but hey, that’s what paint thinner is for!
After what felt like an eternity, the painting was finally done. I let it dry for a full 24 hours to make sure everything was completely set. Then came the sealant. I applied several thin coats of clear coat, allowing each coat to dry before adding the next. This step is crucial for protecting the paint from scratches and wear during bowling.

Finally, the moment of truth. I took the finished bowling ball to the alley and gave it a whirl. It looked amazing! More importantly, it bowled pretty well too. It wasn’t a perfect strike every time, but who cares? The point was to raise awareness and support a good cause.
At the charity event, my bowling ball was a hit. People loved the design, and it sparked conversations about cancer awareness and research. We ended up raising a significant amount of money for the cause, and that made all the effort worthwhile.
So, there you have it. My “strike against cancer” bowling ball – a quirky project that turned into something meaningful. It just goes to show that even the simplest ideas can make a difference. And who knows, maybe I’ll start a trend of custom charity bowling balls!


