Alright, so I decided to tackle a little project recently, something I’ve been thinking about for a bit. I’m a big fan of Formula 1, and Lando Norris always has these really eye-catching helmet designs. Thought it’d be fun to try and replicate one, just for display, you know?
Getting Started
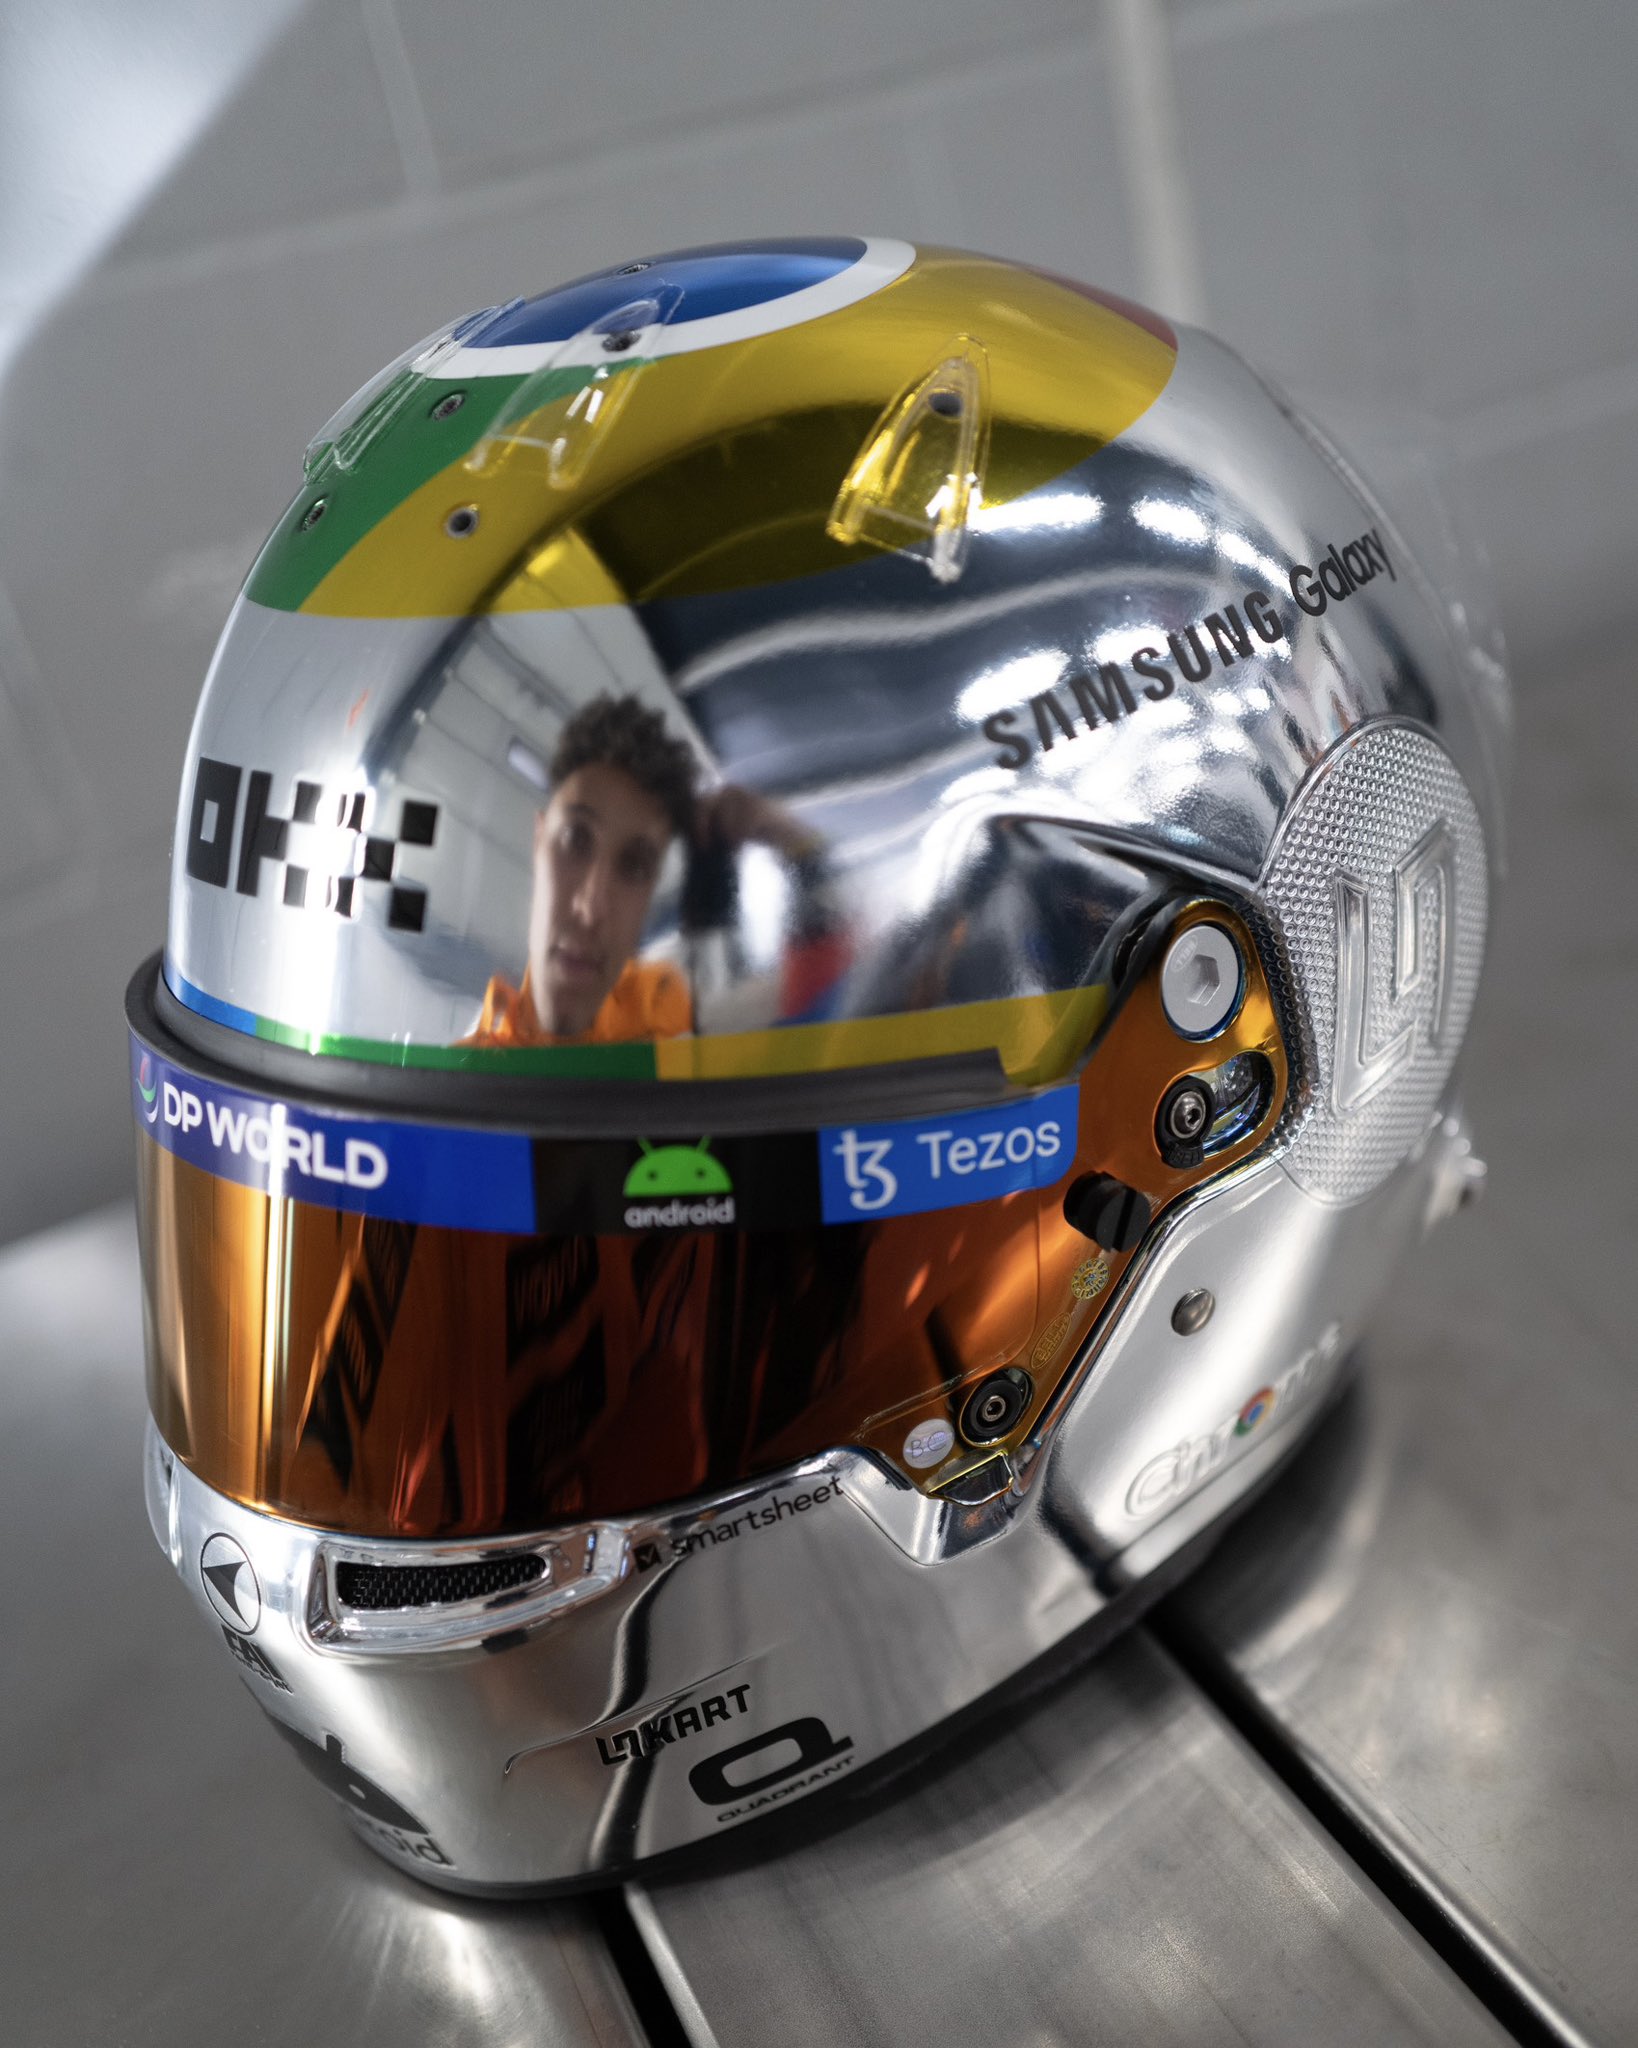
First off, I needed a base. Found a simple, plain white display helmet online. Nothing fancy, just something smooth to work on. Spent a good while just scrolling through pictures of Lando’s different helmets. He’s had so many cool ones. I eventually settled on one of his brighter designs, the one with lots of neon yellow and blue – felt like a good challenge.
The Prep Phase
This is the part nobody loves, but you gotta do it. Preparation is key, honestly. I grabbed some fine-grit sandpaper and lightly roughed up the entire surface. Just enough so the paint would have something to grab onto. Then, cleaning. Wiped it down thoroughly with some alcohol wipes to get rid of any dust or oils. Any spec of dirt can ruin the finish.
Masking It Out
Next up: masking tape. This took ages. I used standard blue painter’s tape. Carefully looked at the reference photos and started laying down the tape to block off the sections for the first color. Getting those curves and sharp lines right takes time and a steady hand. Lots of small pieces needed. Really pressed down the edges hard to stop paint from seeping under.
Laying Down Color
Okay, finally time for some paint. I decided to start with the brightest color, that neon yellow. Took it outside – good ventilation is important with spray paint. Used spray cans for this, felt it would give a smoother finish than brushing.
- Did a very light first coat. Let it dry.
- Applied a second thin coat. Let that dry too.
- Probably did about three thin coats in total to get that really solid, vibrant yellow.
Patience is the main thing here. Rushing it just leads to drips and a messy finish. Let it cure properly, I left it overnight just to be safe.
More Layers, More Masking
Once the yellow was completely dry, I had to mask again. This time, covering the yellow parts I wanted to keep. Then, I sprayed the next main color, the blue. Same deal: thin coats, letting each one dry before the next. After the blue, there were some smaller black and white details. Each new color meant carefully masking off the previous, dry layers. Slow process, definitely.
The Final Touches
Peeling off the tape is always the moment of truth. Heart in my mouth a little bit, hoping the lines came out clean. Mostly they did, but there were a couple of tiny bleeds here and there. Nothing major. Used a very fine brush and a bit of paint to carefully touch those spots up. Once I was happy with all the colors and details, I gave the whole helmet a couple of coats of clear gloss spray. This really makes the colors pop and gives it that shiny, finished look, plus it protects the paint.

End Result
So, there it sits on my shelf now. Is it a perfect, professional replica? Nope. But does it look like a Lando Norris helmet? Yeah, pretty much! Captures the vibe, definitely. It was a fun process, took a good weekend and a bit of patience, especially waiting for paint to dry. A good way to spend some time, and I ended up with a cool piece of F1 memorabilia I sort of made myself. Pretty happy with how it turned out, honestly.


