


Okay, here’s my shot at a blog post about setting up a dart board with metal tip darts, written in a casual, first-person style:
So, I finally decided to get a proper dart board setup in my basement. I’d been messing around with one of those cheapo boards, the kind with the plastic tips, and it was just… unsatisfying. Time for an upgrade! I wanted the real deal, a board that could handle metal-tip darts, so that is my goal today.
Getting Started
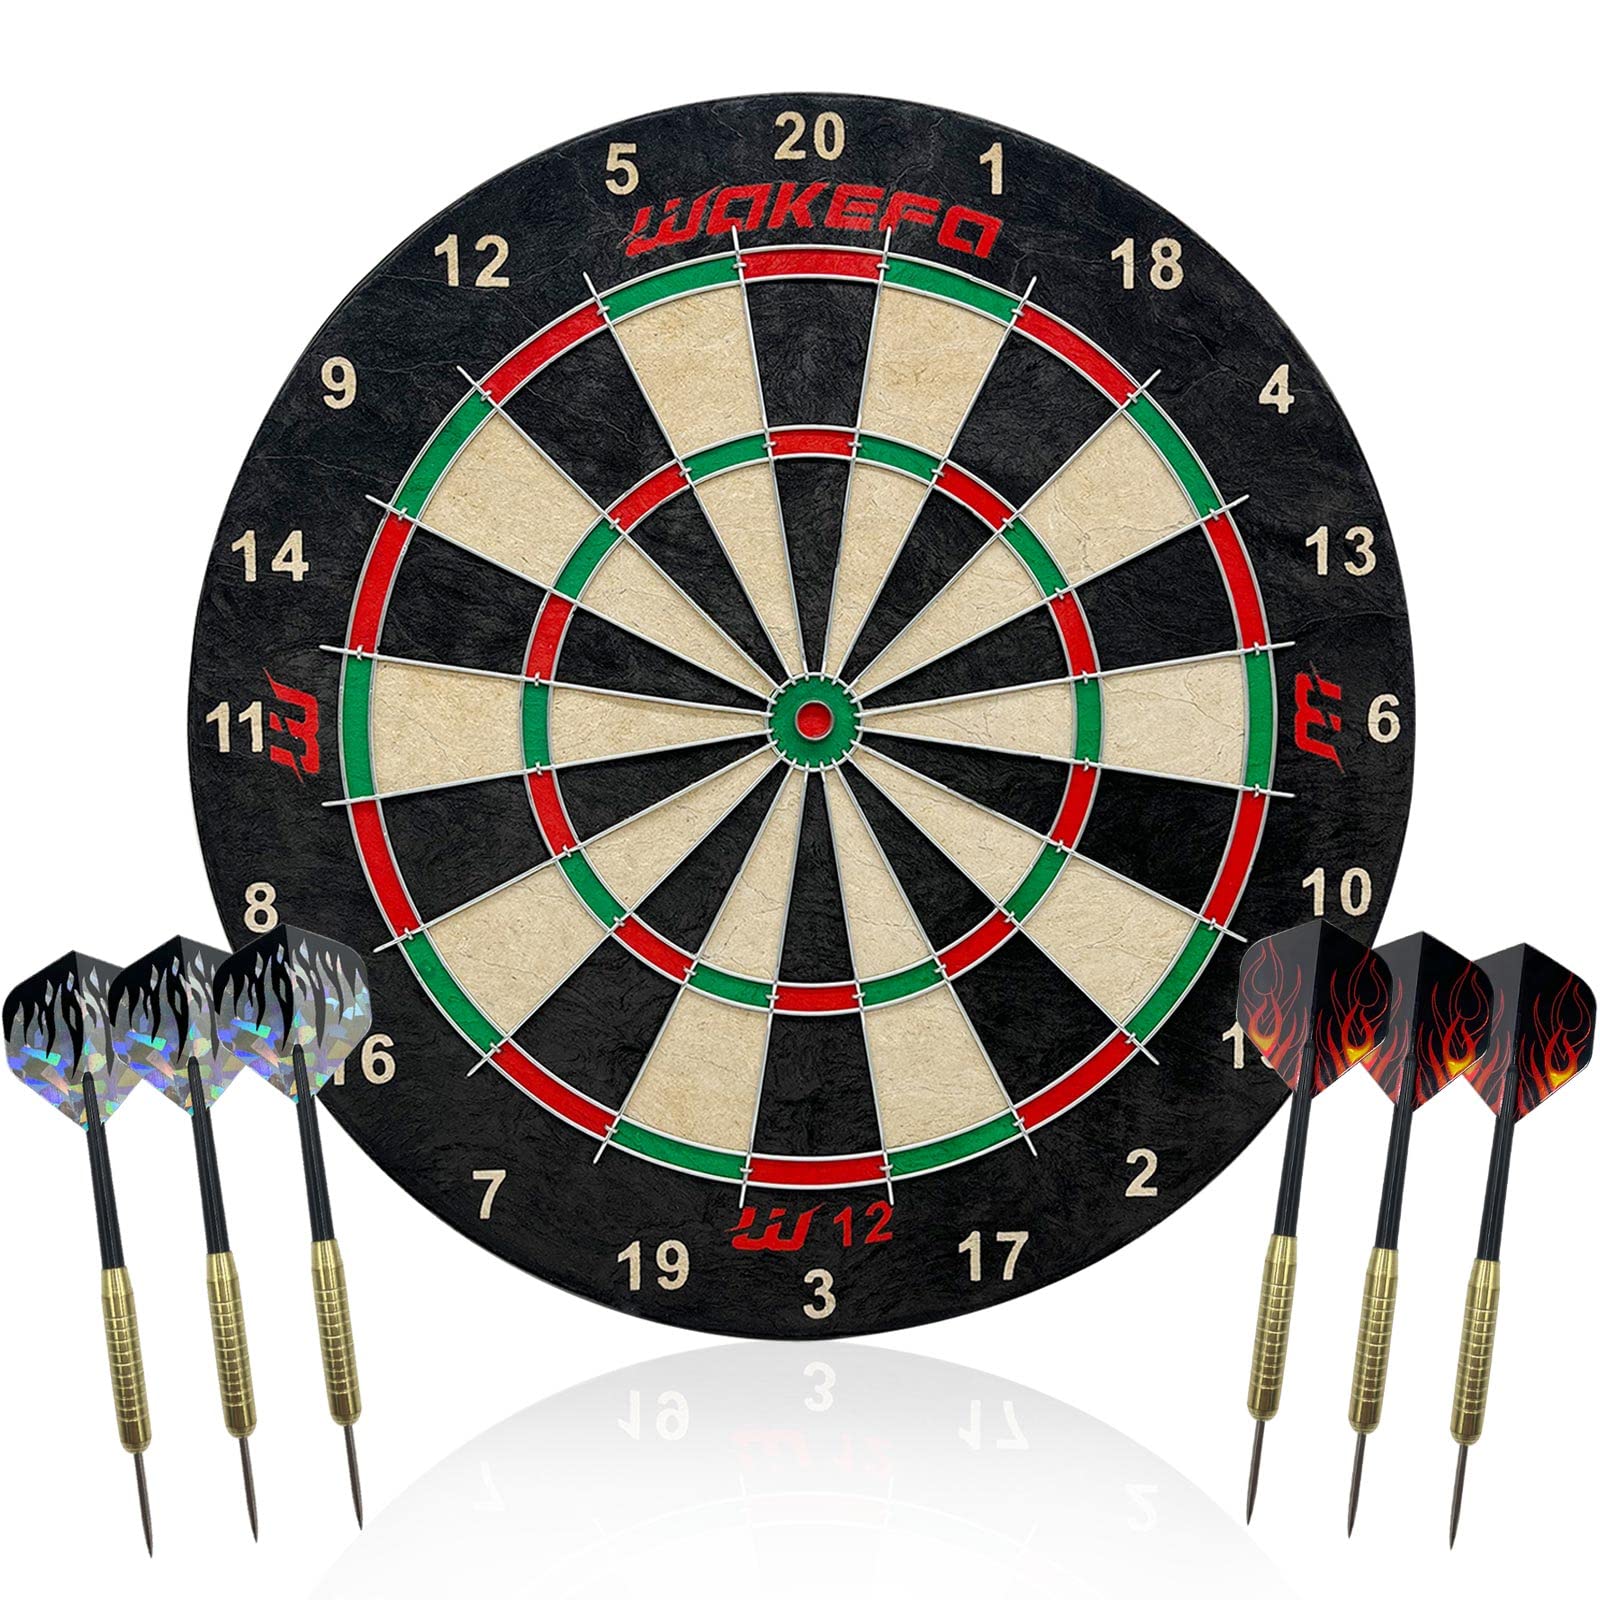
First thing, I had to grab the goods. It has to be said that finding somewhere selling is really a task. I picked up a bristle dart board – seemed like the standard choice for steel-tip darts. It has nice, tightly-packed fibers. And of course, I got a set of metal-tip darts. The weight felt good in my hand – not too light, not too heavy, just right like Goldilocks’ porridge.
Mounting the Board
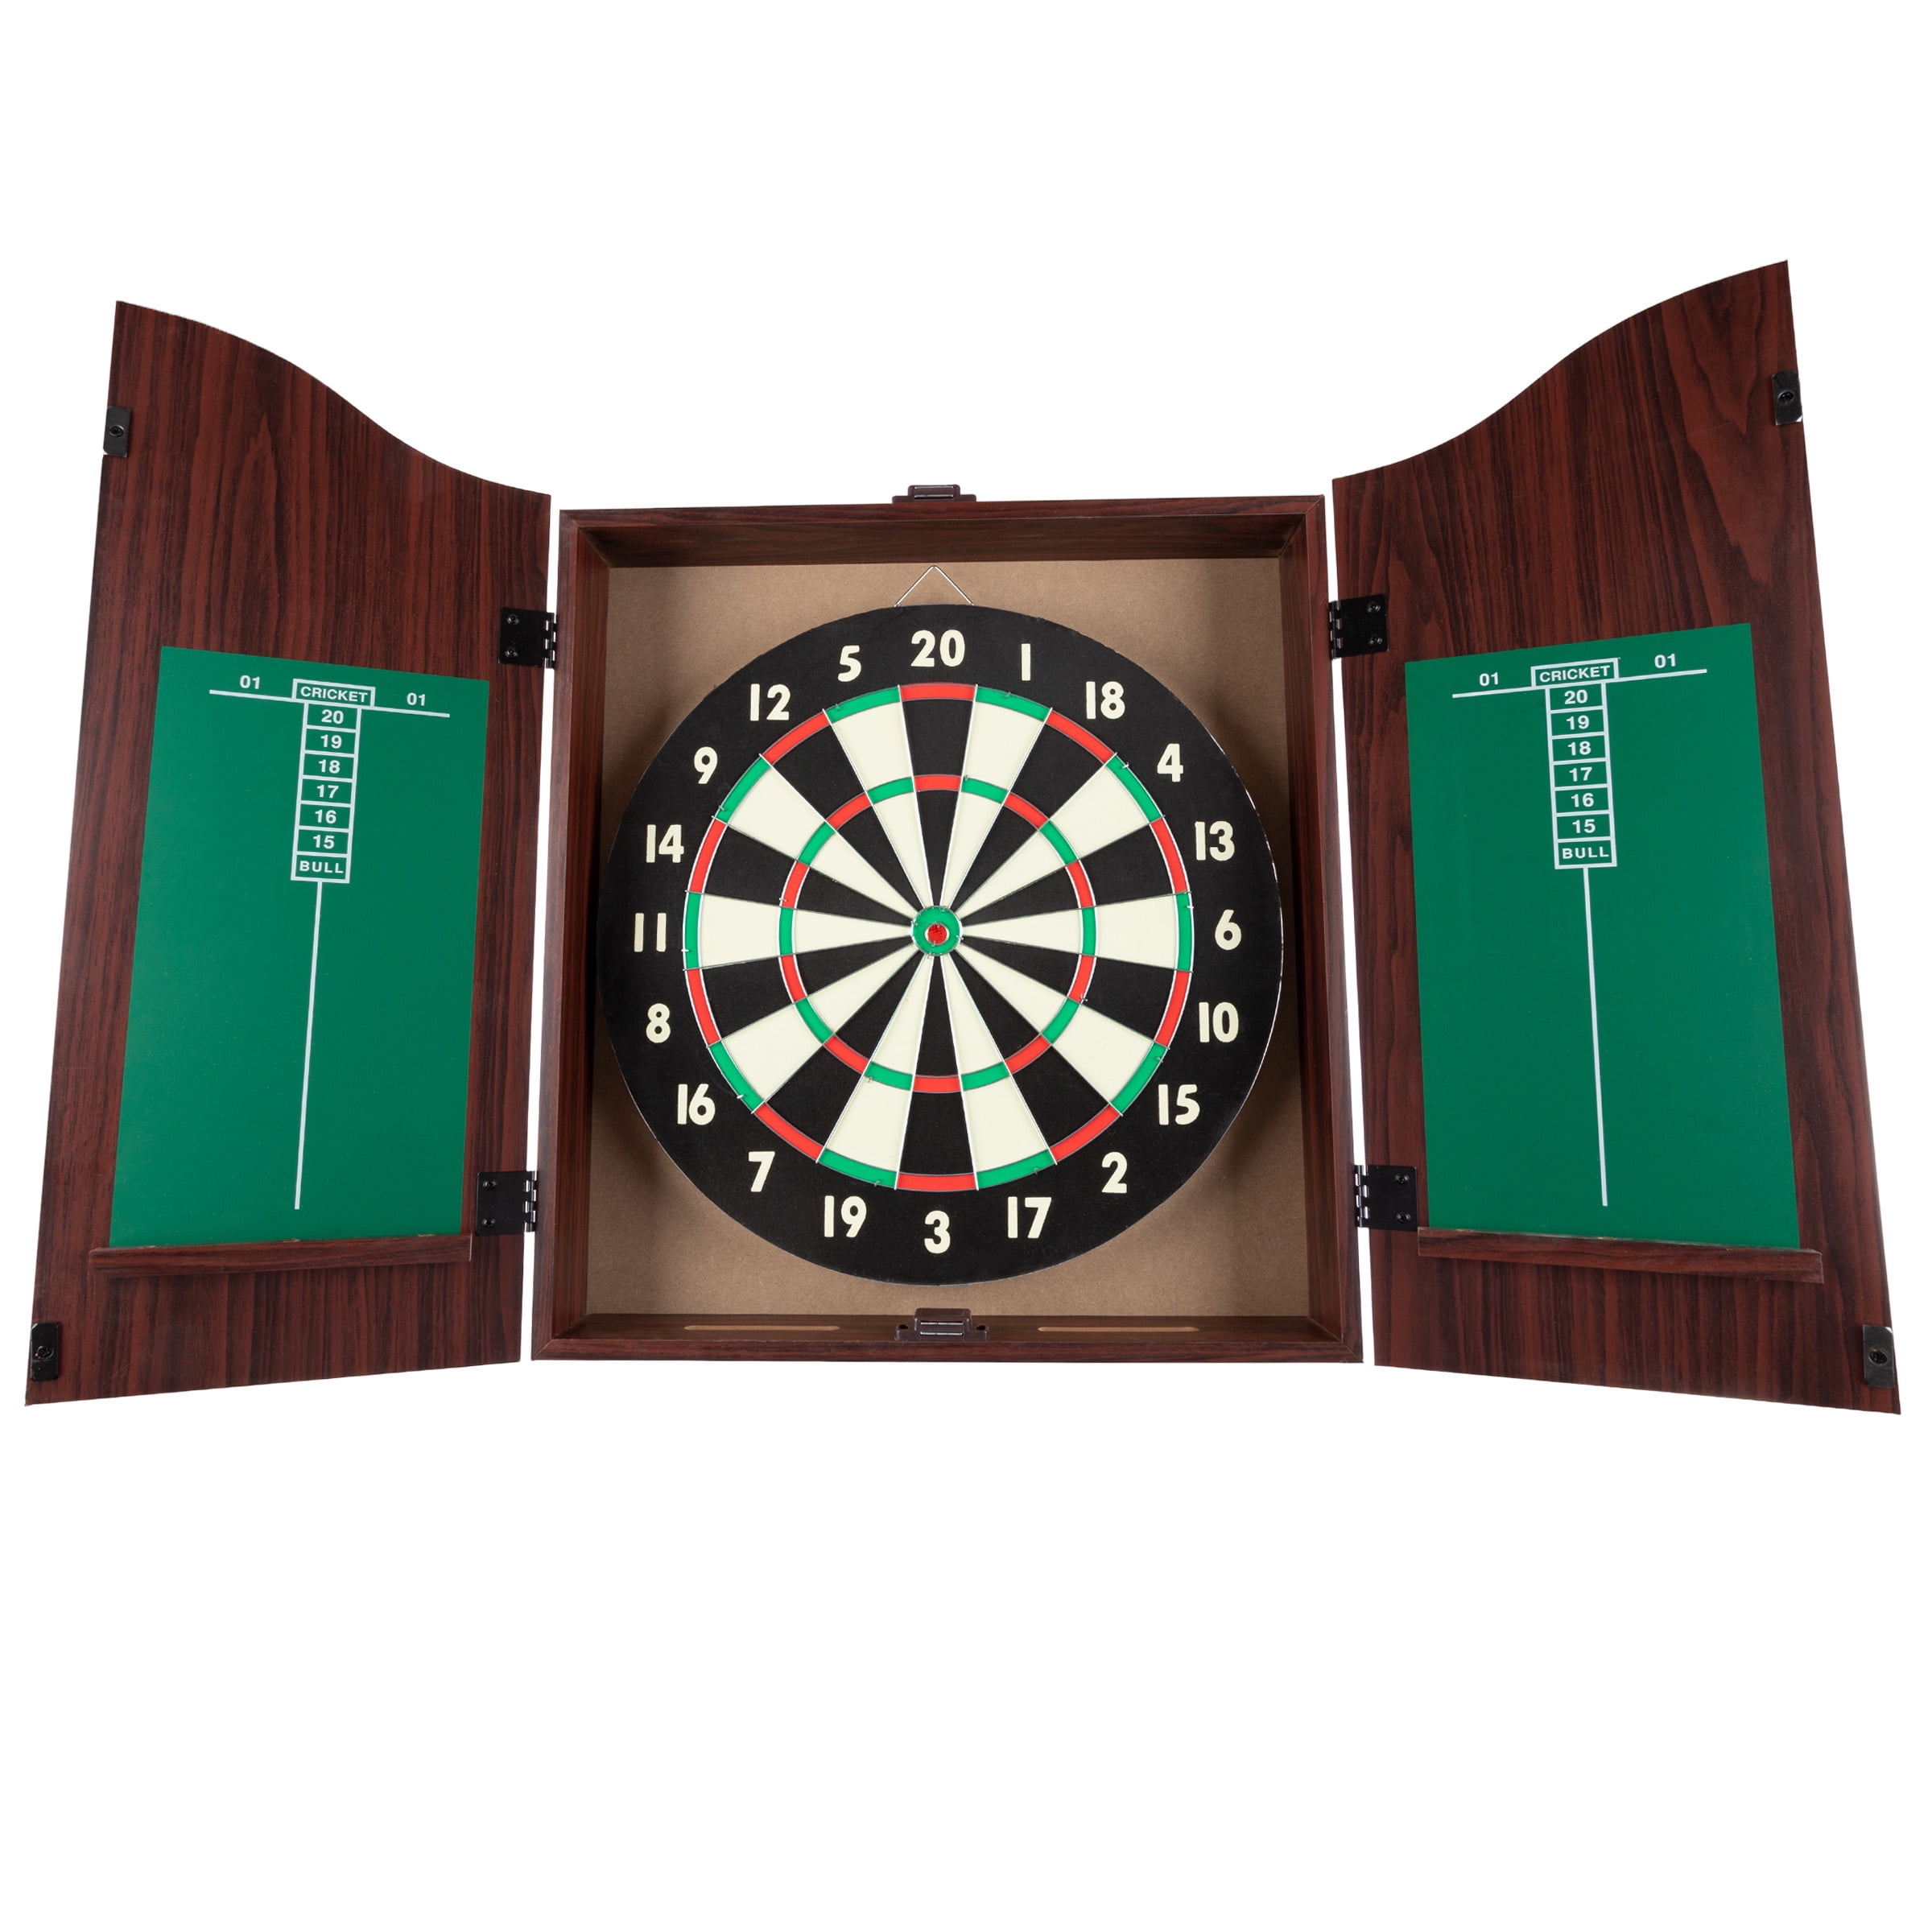
Next up, mounting this bad boy. This is where I almost messed up. I’m not the handiest person, to be honest. My initial idea was to just slap it up on the wall with a nail. My buddy, thankfully, stopped me before I did something stupid. “Dude,” he said, “you gotta measure this thing out. There’s, like, actual rules.”
Turns out, he was right. (Shocker, I know.)
- Height: The bullseye needs to be 5 feet 8 inches (1.73 meters) from the floor. I used a tape measure and a pencil to mark that spot.
- Distance: The throwing line, or “oche,” (I learned a new word!) needs to be 7 feet 9 ¼ inches (2.37 meters) from the face of the board, not the wall. That’s important!
I used a stud finder to make sure I was screwing the mounting bracket into something solid. Didn’t want the whole thing crashing down after one throw. Once the bracket was up, hanging the board was easy – it just slotted right in.
Setting up the Oche
For the throwing line, I considered a few options. Some people use a fancy laser line, some put down a raised wooden oche. I went with the simple route: a strip of painter’s tape. Measured it out carefully, pressed it down firmly, and boom – instant oche.
The First Throws and Adjustments
Finally, time for the fun part! I stepped up to the line, took aim, and… thunk! My first throw was way off. Like, embarrassingly off. But hey, that’s part of the process. I spent the next hour or so just throwing, getting a feel for the weight of the darts and the distance. Slowly but surely, my aim improved. I’m no pro, not even close, but I was actually hitting the board consistently, so I did a great job!
I realized pretty quickly that good lighting is essential. My basement is kinda dim, so I added a spotlight above the board. Made a huge difference. Now I can actually see what I’m aiming at. The point is it became much more enjoyable.
And after all that hard work, my dart board metal tip is done. I still need some practice for sure, so I’m going to invite some friends and let’s play a few games.


