


Okay, so today I decided to mess around with “corol f basket ball corts”. I’d seen some stuff about it online, and it looked kinda cool, so I figured, why not?
Getting Started
First, I needed to find some decent reference images. You know, just to get a feel for the different colors, court layouts, and all that jazz. I did a quick search and boom, tons of images popped up. I saved a few that caught my eye – a mix of indoor and outdoor courts, some with fancy designs, some more basic.
Time to Sketch
Next up, I grabbed my trusty sketchbook and pencil. I started by lightly sketching out the basic shapes of the court. You know, the rectangle, the center circle, the three-point lines. I’m no artist, so it took a few tries to get the proportions kinda right. I wasn’t aiming for perfection, just something recognizable.
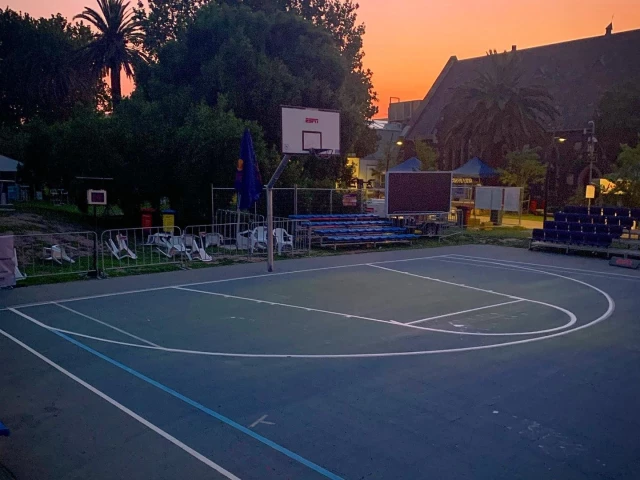
- Started with basic rectangle.
- Added the center circle – that was a bit tricky!
- Then came the free-throw lines and the key.
- Finally, I sketched in the three-point arcs.
Adding the Corol
This is where the “corol f” part came in. I wanted to play around with different color palettes.I started experimenting with the corols, I picked a few that I liked – a vibrant blue and orange combo, a classic red and black, and even a funky green and purple mix. I used colored pencils to fill in the different sections of the court, trying out different shading techniques to give it some depth.
Finishing Touches
After I was happy with the colors, I went over the lines with a darker pen to make them stand out more. I added some little details, like the markings on the sidelines and the backboard. Nothing too fancy, just enough to make it look a bit more realistic.
It was a fun little project! It’s not a masterpiece or anything, but I enjoyed the process of sketching and coloring. And hey, I learned a bit more about basketball court layouts in the process. Might try some different designs next time, maybe even a full-on arena!

