
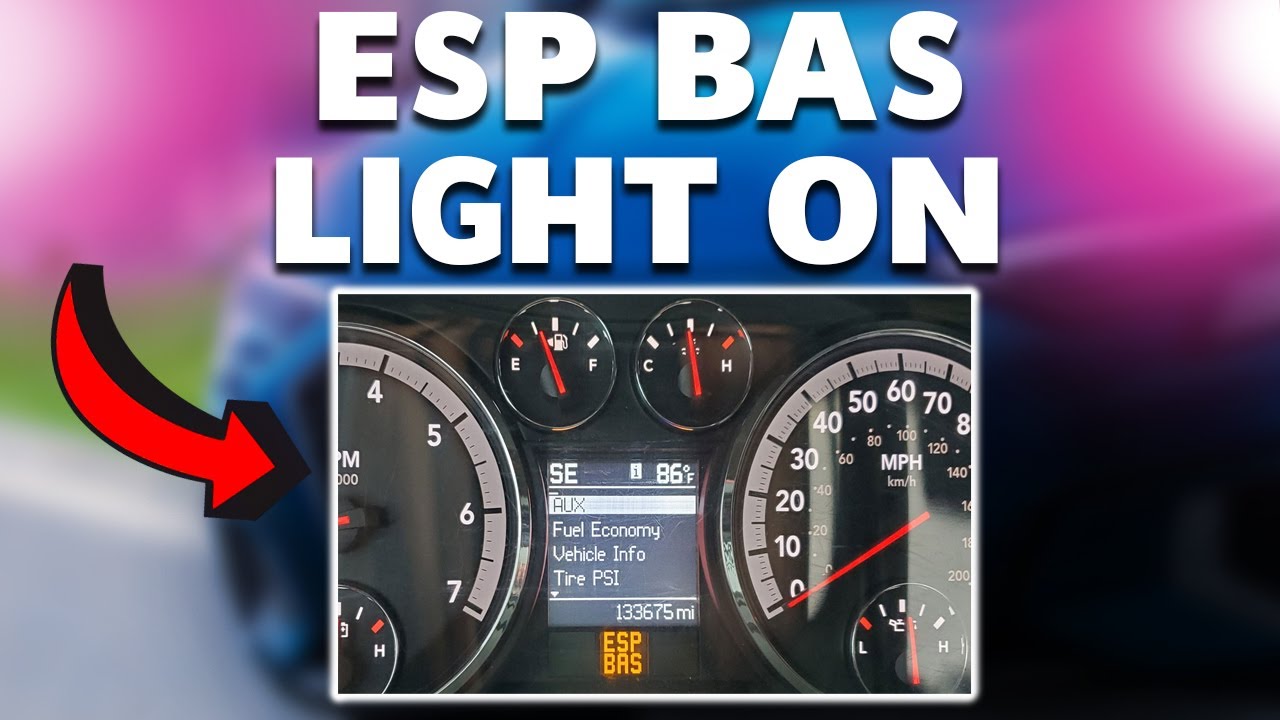
Alright, so I wanted to mess around with ESP32 and try to get it to talk to my car’s braking system. I’ve heard some folks call it “ESP BAS” stuff, so that’s what I went with. Here’s how it all went down.
Getting Started
First things first, I grabbed my ESP32 board. I already had the Arduino IDE installed on my laptop from previous projects, so that part was easy.
Next, I needed to find the right libraries. I remember I searched online and found the “ESP32CAN” library, I think it was on GitHub. I downloaded the zip file, opened up the Arduino IDE and chose “Sketch” -> “Include Library” -> “Add .ZIP Library…” and added the library.

Connecting Everything
Now for the fun part – wiring it all up! I did a little research to figure out the CAN bus pins on my car’s OBD-II port. Usually, it’s pins 6 and 14 for CAN High and CAN Low, respectively. I carefully connected those to the CAN transceiver module I had, and then connected the transceiver to the ESP32. I made sure to double-check all the connections, cause I did not want to fry anything.
- CAN High (OBD-II pin 6) -> CAN Transceiver High
- CAN Low (OBD-II pin 14) -> CAN Transceiver Low
- Transceiver TX -> ESP32 GPIO Pin (I think I used 5)
- Transceiver RX -> ESP32 GPIO Pin (I used 4, I think)
- Plus, all the power and ground connections, of course!
Coding It Up
With the hardware all set, it was time to write some code. I opened up a new sketch in the Arduino IDE and started typing away. I found some example code online for using the ESP32CAN library, which was super helpful.
I modified the example code to listen for specific CAN IDs related to the braking system. I had to do some digging to find those IDs. It took some trial and error, with me sending different messages and seeing what happened. Finally got it to read some values.
I added some statements to see the data I was receiving from the car. It was pretty cool to see the raw data coming in!
Testing it out
Now, you should always be testing things. It is important to have a good testing procedure to catch errors. With that, I also had to test to see if the code worked. After testing, I refined my code, fixed, and improved it until I was satisfied with the final outcome.
The Results
After a bunch of tweaking and testing, I finally got it working! I could see the brake pedal position and some other related data on my serial monitor. It wasn’t anything super fancy, but it was a proof of concept that I could actually communicate with my car’s braking system using an ESP32.
It was a lot of trial and error, and I definitely learned a lot along the way. Maybe someday I’ll try to actually control something, but for now, I’m happy with just being able to read the data. I hope you had fun on my journey!


