


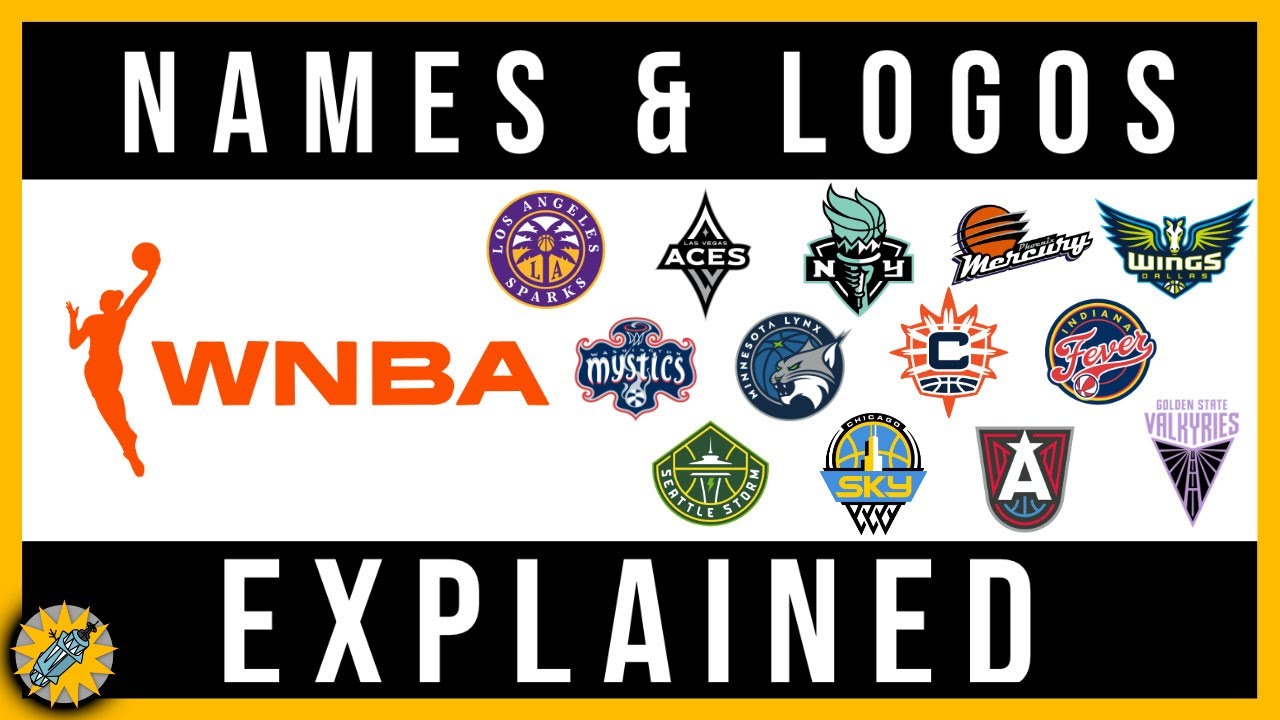
You won’t believe what I got myself into the other day. So, I’m scrolling through the internet, as one does, and I come across this thing about making 3D logos. And not just any logos, but WNBA team logos. Now, I’m not the biggest sports fan, but I thought, “Hey, that sounds kinda cool, and I’ve always wanted to mess around with 3D printing.” So, I decided to give it a shot. I know my capabilities, so I began searching for readily available 3D models of the WNBA logos. I know I needed to print the materials for a 3D printer.
First things first, I had to find some 3D models of these logos. I mean, I’m no 3D modeling expert, so I wasn’t about to try and design these things from scratch. I hopped on a few websites that offer 3D models for printing and started searching for “WNBA logo.” And guess what? I hit the jackpot! There were tons of models available, some were free, some you had to pay for, but there was a good selection to choose from.
I picked out a few of my favorite team logos – you know, just to test the waters. Downloaded the STL files, which is the format you need for 3D printing. I’ve heard a lot about it. Now, I don’t own a 3D printer myself (yet!), but I have a buddy who’s really into it. So, I called him up, told him about my little project, and asked if I could use his printer. He was totally on board, always happy to have an excuse to fire up that machine.
Here’s how we did it:
- Slicing the Models:
Before you can print anything, you gotta “slice” the 3D model. It’s basically like cutting the model into a bunch of thin layers that the printer can understand. My friend used some software to do this, and he let me watch and learn. It was pretty fascinating, actually.
- Setting up the Printer:
Next, we had to get the printer ready. We chose the right material, loaded it up, and made sure everything was calibrated correctly. My friend was a pro at this part, so I just kind of stood back and observed.
- Printing Time:
Finally, it was time to print! We sent the sliced files to the printer, hit the start button, and watched as the magic happened. It’s so cool to see these logos take shape layer by layer. It did take a while, though – 3D printing isn’t exactly known for its speed.
- Admiring the Results:
Once the printing was done, we carefully removed the logos from the printer bed. And let me tell you, they looked awesome! I was so stoked with how they turned out. They were solid, detailed, and looked just like the real deal.
Honestly, the whole process was way easier than I expected. Thanks to those readily available 3D models and my friend’s 3D printing expertise, I was able to make these WNBA logos without too much trouble. Now I have a few cool 3D-printed logos sitting on my desk, and I’m already thinking about which ones to print next. Maybe I’ll do the whole league! Or maybe I’ll branch out to other sports. The possibilities are endless. It’s a pretty cool feeling, taking something from a digital file to a physical object you can hold in your hand. I might just have to get my own 3D printer after all!
I have to say, this little project has really opened my eyes to the world of 3D printing. It’s got me hooked! I found many 3d models from all over the world.
