


Okay, here’s my blog post about replacing the ball joints on my truck:
Alright, so the old truck was starting to feel a little… loose. You know, that wandering feeling in the steering, some clunking over bumps. Classic ball joint trouble. Figured it was time to tackle the job myself, save some cash, and learn a thing or two. I’ve got a 2000, and it is 1500, so keep that in mind – yours might be a little different.
Getting Started
First things first, I jacked up the front end and put it on some sturdy jack stands. Safety first, people! Don’t even think about skipping this step. I removed the wheels, no time for that.
Next, I took off the brake calipers and rotors. Just a couple of bolts holding the caliper on, and then I used a bungee cord to hang it out of the way. Don’t let it dangle by the brake line! The rotor should just pull off, might need a little tap with a rubber mallet if it’s stuck.
The Dirty Work
Now for the fun part. I disconnected the tie rod end from the steering knuckle. Usually, a good whack with a hammer on the knuckle (not the tie rod itself!) will pop it loose. Sometimes you need a pickle fork, but I try to avoid those since they can tear the boots.
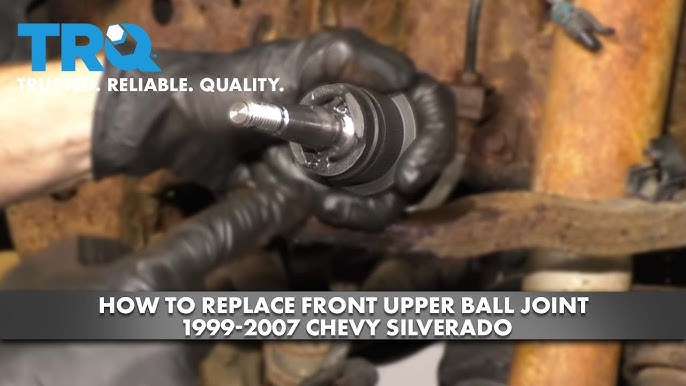
Then, I removed the cotter pin and castle nut holding the upper ball joint to the knuckle. Same deal as the tie rod – a few good hits with a hammer on the knuckle, and it should separate. If not, you might need a ball joint separator tool. You can usually rent these from auto parts stores.
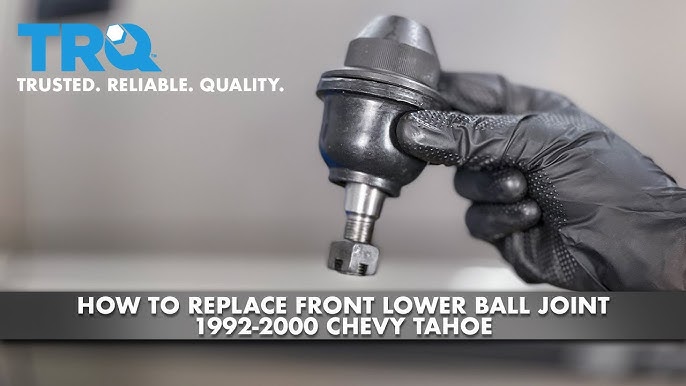
Next I use hammer to hit the lower ball joint lossen. The lower one is usually pressed in, so this is where things can get tricky.I rented a ball joint press from the auto parts store – basically a big C-clamp with different size adapters. I positioned the press, cranked it down, and with a loud BANG, the old ball joint popped out.
Putting it Back Together
Installing the new ball joints is pretty much the reverse of taking them out. I used the press to push the new lower ball joint into the control arm. Make sure it’s seated all the way!
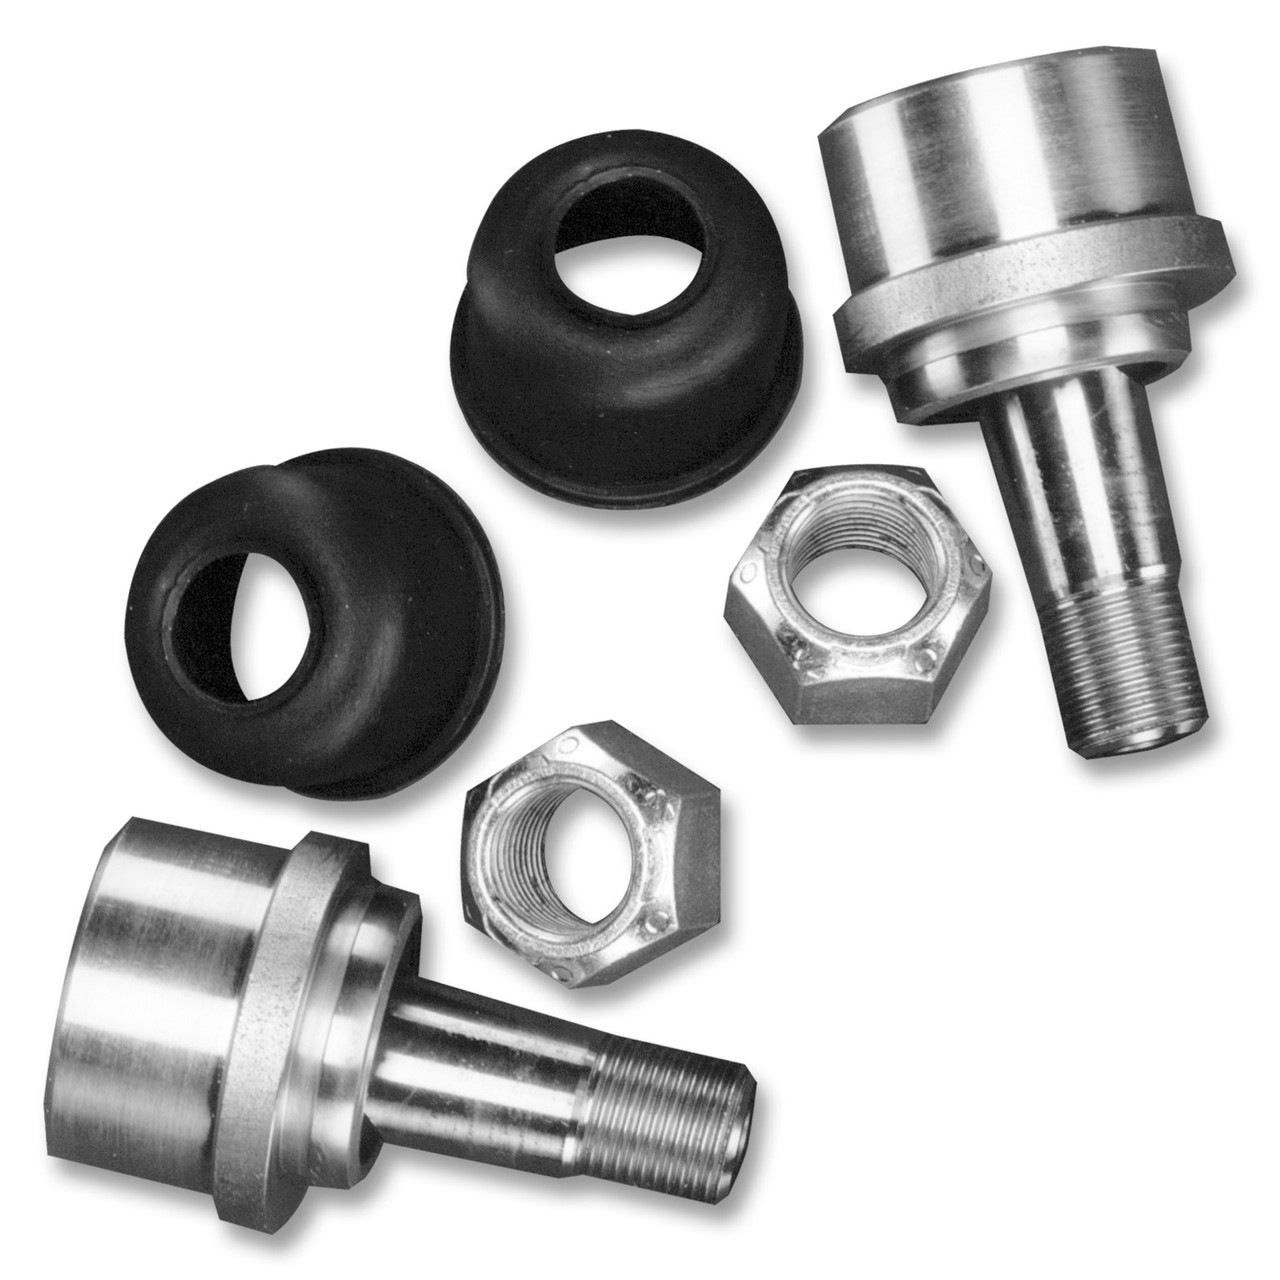
Then I connected the ball joint studs to the steering knuckle and torqued the castle nuts to the right specs. Don’t forget new cotter pins!
After that, it was just a matter of reinstalling the tie rod end, brake rotor, and caliper. Again, make sure everything is torqued properly.
The Final Touches
I mounted the wheels and torqued the wheel. Then, I lowered the truck back down, took it for a test drive, and… wow, what a difference! Steering was tight, no more clunking. Felt like a new truck.
It’s a bit of a job, but totally doable with some basic tools and a little patience. Plus, I saved a ton of money doing it myself! Just remember to take your time, be safe, and double-check everything.


